Last year our big infrastructure project was running a waterline from the well - located three properties away - down to the ranch (four properties share one well). That project was a lot of work and full of surprises. Over the last year we've been doing rainwater-harvesting earthworks and building soil for Gardens, Gardens, and More Gardens. We want to produce lots of healthy food that meets a higher standard: chemical-free, nutrient-rich, forage-fed. But every desperate desert critter wants to eat everything we grow, so we had to fence them out. That was our big infrastructure project this year. It was a lot of work, full of surprises, and also required lots of earthworks to prevent destruction by flash flooding from our annual monsoon rains.

The gardens are all centered around the one-acre courtyard where we're building Superadobe domes. We also have a backyard that's about another half acre. We call it the Chicken Jungle because that's what we envision for it. Chickens in nature are jungle birds that roost in the trees at night and forage on the ground during the day. We're planning rotational paddocks in polyculture food forests that will provide food and medicine for people and productive pets. Forage-fed chickens and other animals are exceptionally healthier than confined animals that eat processed food (kind of like the standard American lifestyle).

Anyhow, our garden fence now encompasses both the courtyard and the backyard. It is such a blessing to have it done! We had already done most of the rainwater-harvesting earthworks in the courtyard, but the backyard had some serious erosion problems that needed to be resolved to prepare the fence line. Some very sizable gullies needed to be filled in so the fence could cross them without having gaps underneath big enough for a cow to walk through. So that's what I did, creating berms that span the gullies at the same height as the surrounding ground.
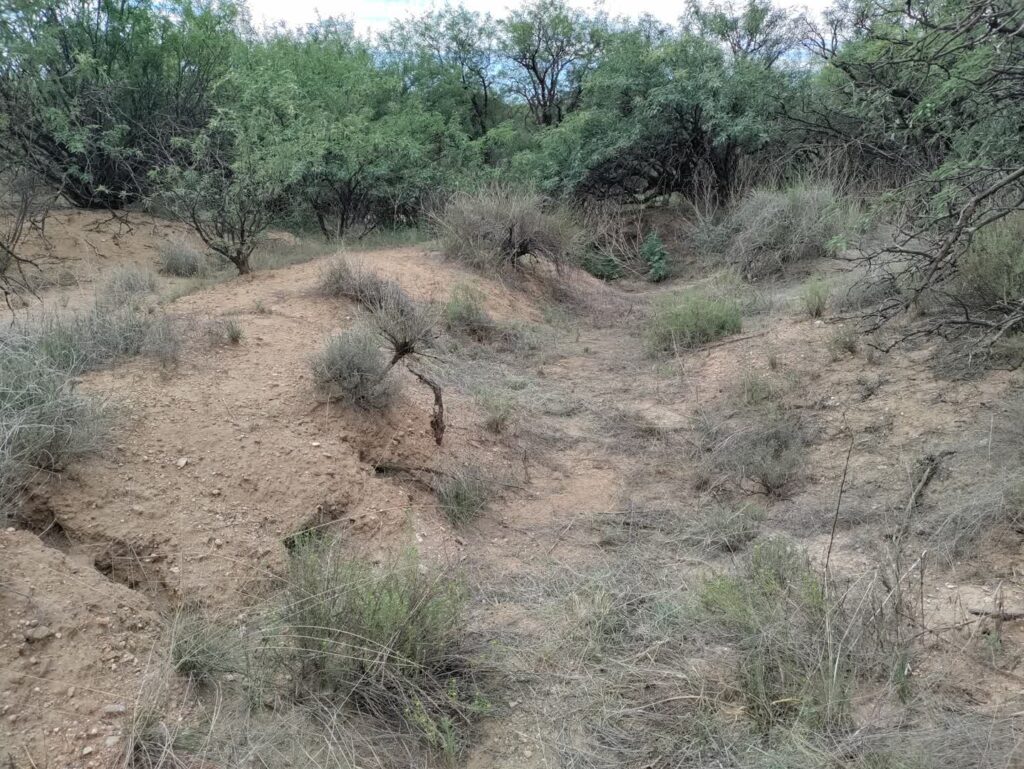
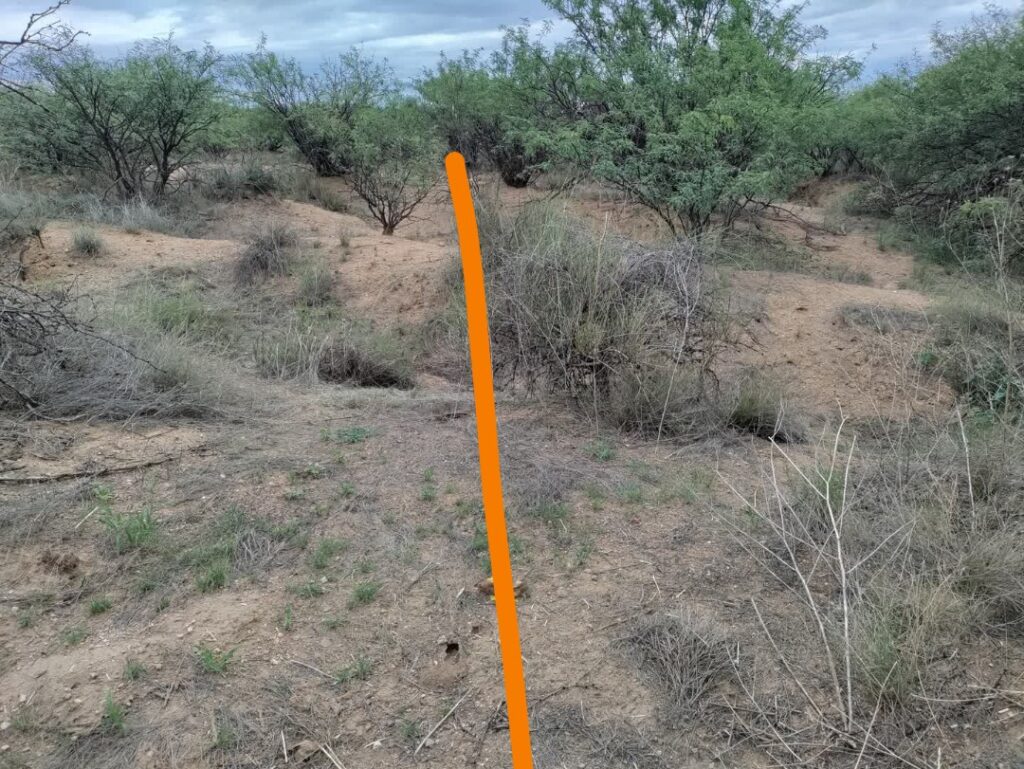
But, the gully-filling berms could be a recipe for disaster. During monsoon rains the gullies will all flow with water that will build up behind the berms that will act like dams. The pressure of too much water could blow them out!
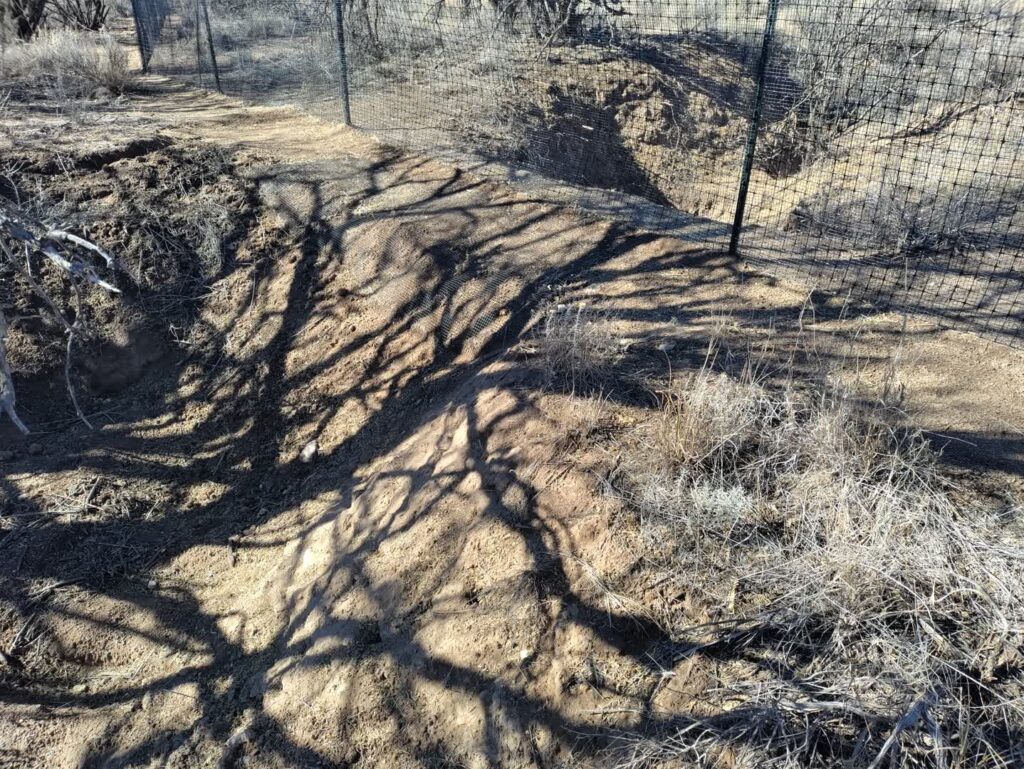
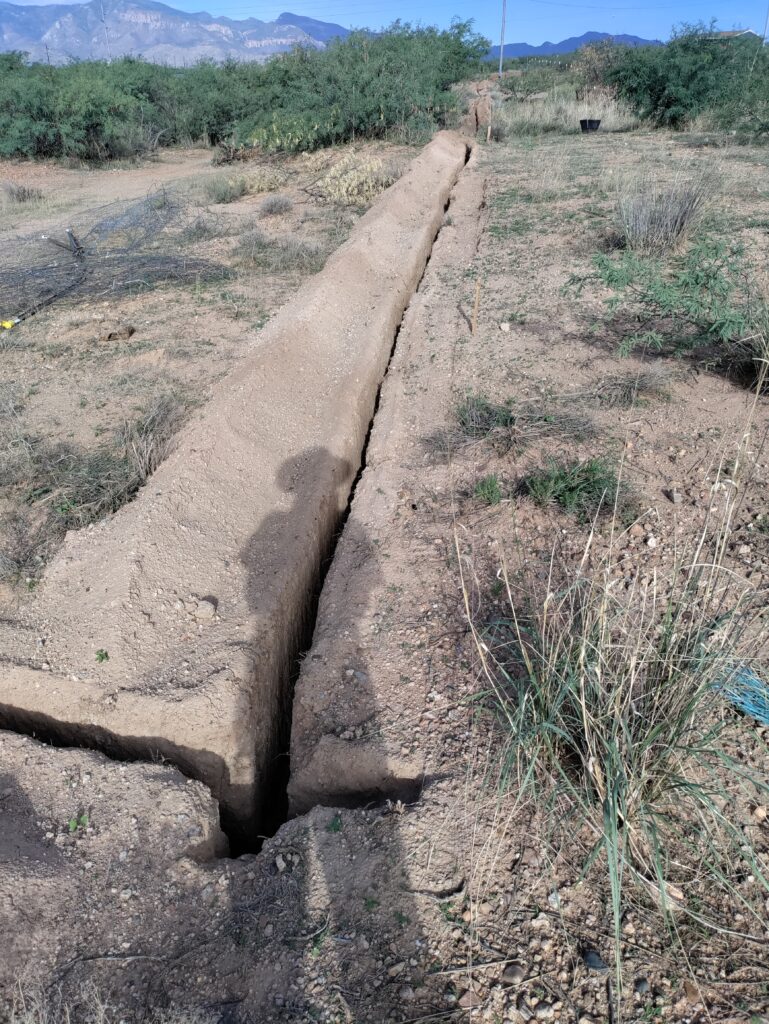
The solution was something I was eventually planning to do anyway: swales and berms on contour all over the Chicken Jungle. Swales are like big ditches. But instead of running downhill like gullies, I run them sideways across the slope on contour. Imagine swales as bathtubs with the ends removed that extend as far as needed. The excavated dirt is put on the downhill side of the swale, creating a berm. The bottom of the swale is level for the length of it, and so is the top of the berm. As they capture water, it fills the whole thing. That's a lot of water!

The main purpose of our swales and other rainwater-harvesting earthworks is to capture, soak, and store water in the ground for the polyculture food forests and gardens. Most folks around here design their landscape to shed water as fast as possible so it all runs toward the ocean and keeps their landscape like a desert. If everything works according to plan, our swales and gullies will slowly fill in with soil over time. But as we build good soil, it will soak up water like a sponge (imagine a forest floor thick with organic matter and rich soil).
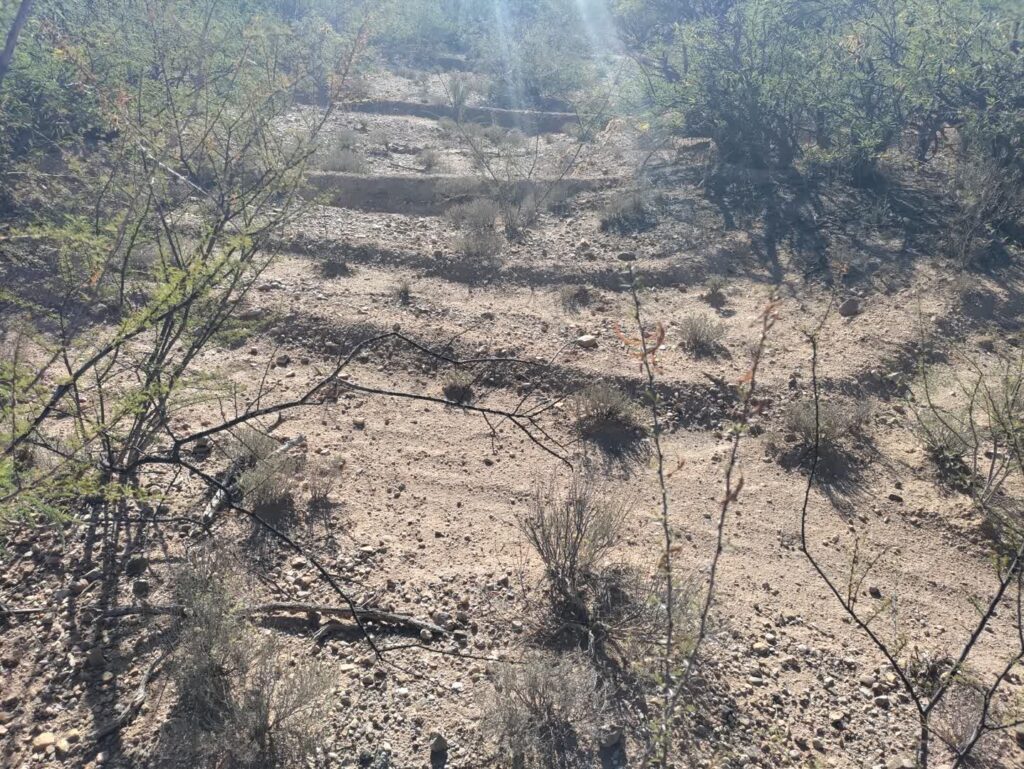
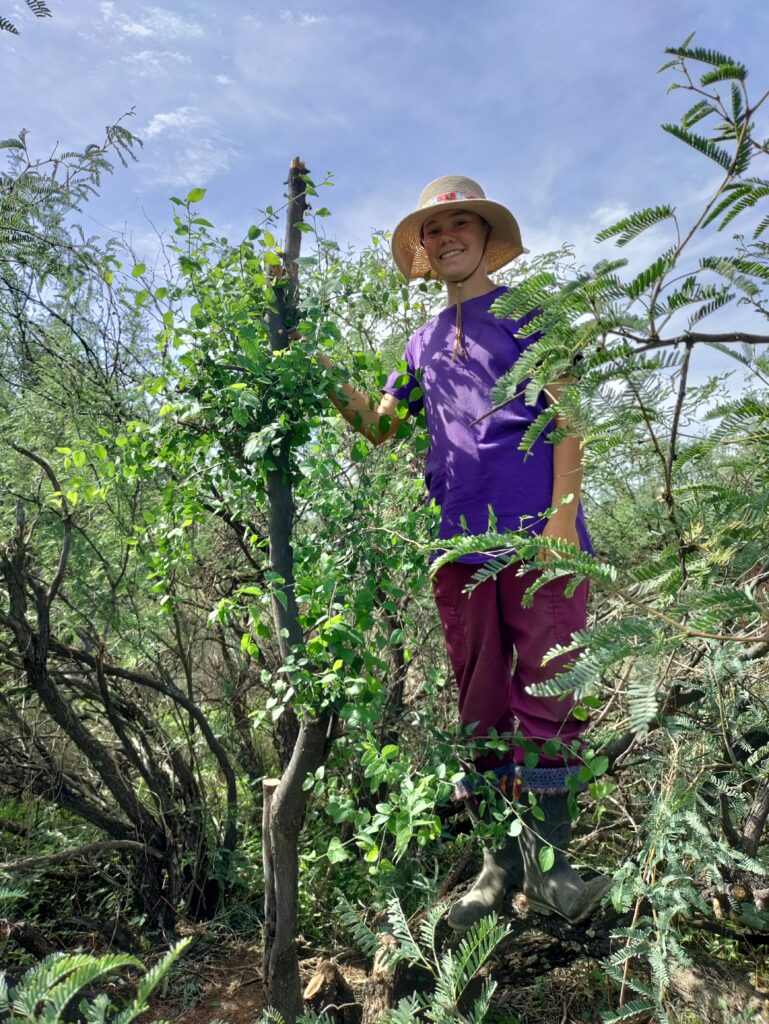
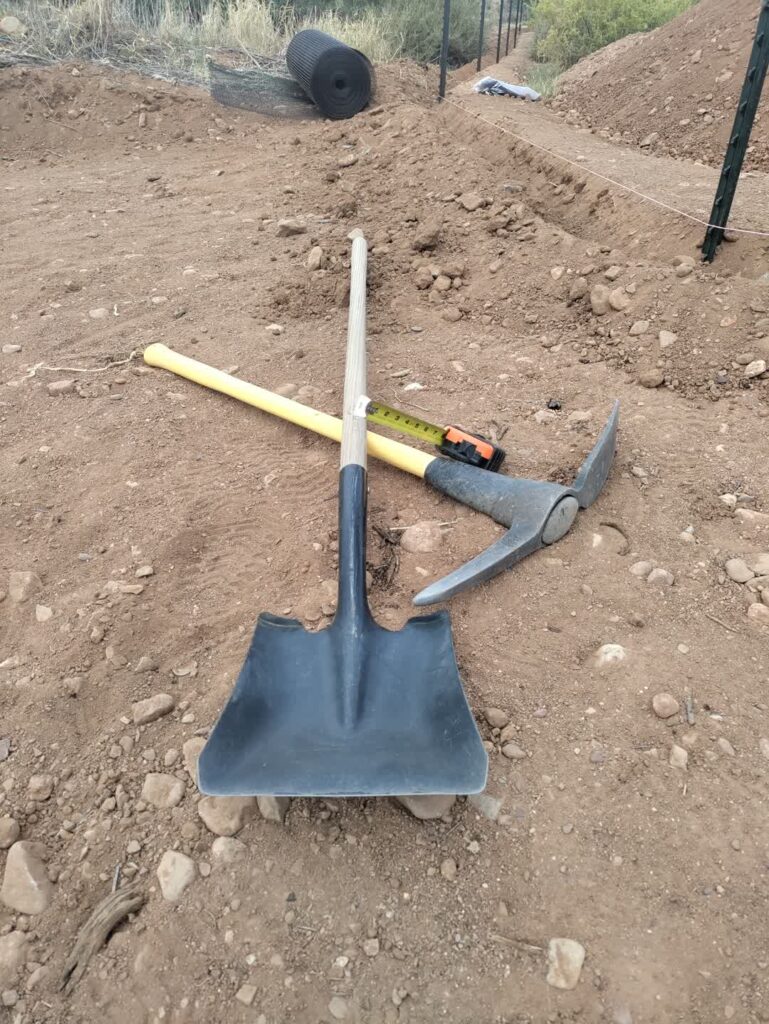
Swales can be made be as big or small as you want - depending on your needs. I started experimenting and learning with small ones last year, which I would recommend to anyone who wants to try this at home. That way if you run into any problems, they're small problems. You always want to design an overflow route for the water. Otherwise all that captured water may find its own escape route. As it escapes it can quickly rip out a lot of dirt along its path and whatever is in its way can suffer flood damage.

I do all my earthworks with a shovel and pick ax, so all this work in the Chicken Jungle took more than a month. But as I explained, this all needed to be done to prepare the fence line. Then, once I had removed ground vegetation, leveled the path, and pruned back all the thorny acacia and mesquites, we were ready to start putting in the fence posts.
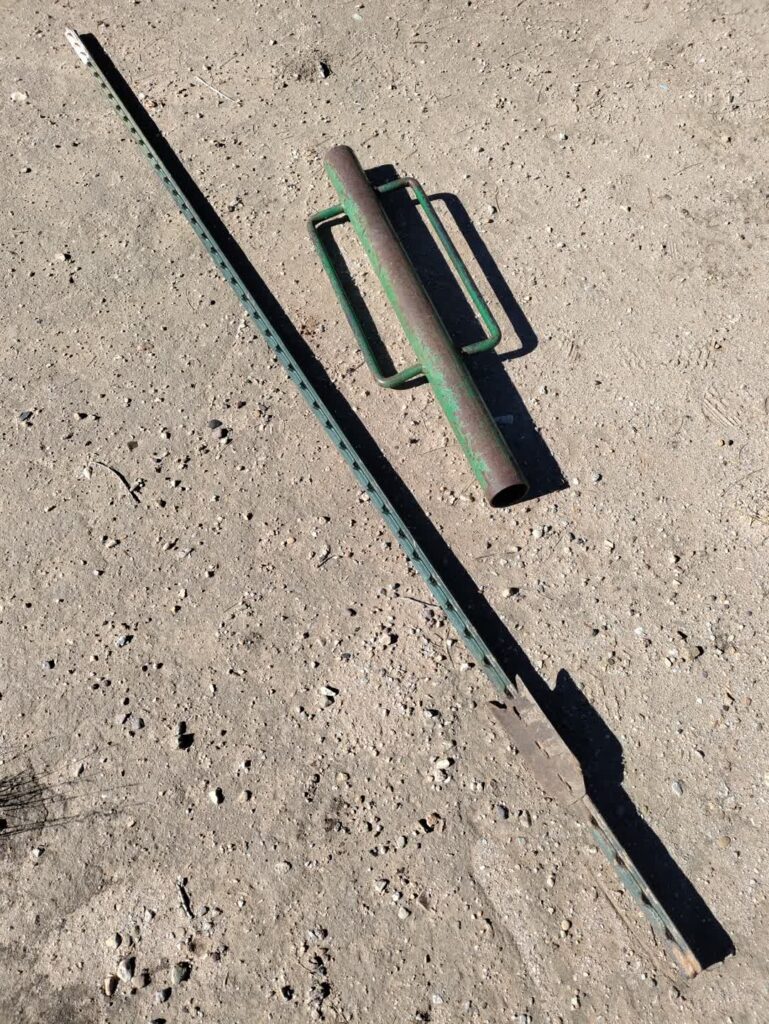
I used around 84 t-posts spaced 10-12' apart. The posts have to be significantly taller than the fence because they have to be sunk deep enough into the ground to hold the fence up regardless of how wet the ground is and how much pressure it might get from critters trying to get through. My wife used a level and held the posts while I used a ladder and post pounder. Fortunately, we didn't hit too many impenetrable rocks.
The five-foot wide gates (four of them) were the most difficult part of the whole project. Critterfence had sent us some wrong parts - which we discovered after putting all four gates together and while working on the second gate - that took some troubleshooting with customer service to figure out and then we had to wait for the right parts to arrive before being able to finish installation. But that wasn't the worst of it. Instead of just pounding the gate posts straight into the ground, they came with sleeves that you pound down to ground level, then you slip the posts into the sleeves. You use an anvil and sledge hammer. The anvil slips into the top of the sleeve so you can pound on it without crumpling the top of the sleeve.
We started on a back gate so it could be our practice one in case we ran into any problems. I'm glad we did because we ran into problems. I pounded the first sleeve in and it crumpled on top. I contacted Critterfence customer service and they said it would only do that if it hit a rock, tree root, or hard pan. Well, the ground seemed pretty soft and sandy there, but it probably hit some caliche down below. I cut the crumpled top off with a hacksaw and they recommended:
“For dry and compacted ground, use an auger or digging bar to pilot a hole. Using the digging bar, stick the pointed end into the ground like a spear. Move it in small circular pattern to break up the earth. Pull the bar out of the ground and repeat until reaching the depth of the sleeve (30″).”
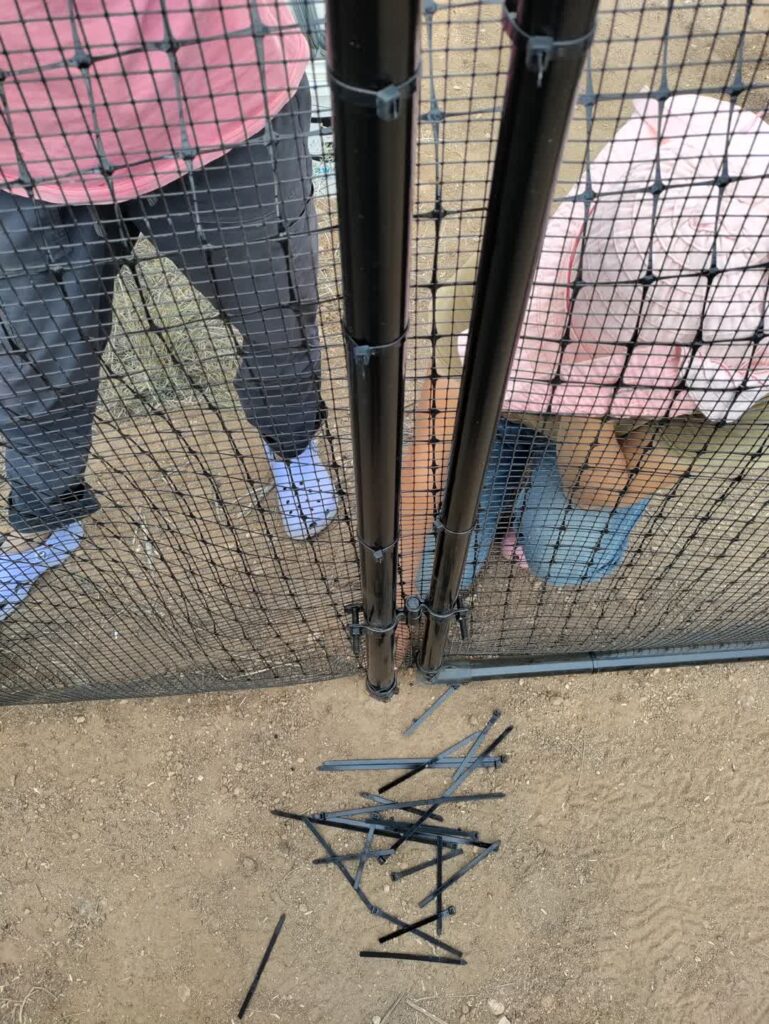
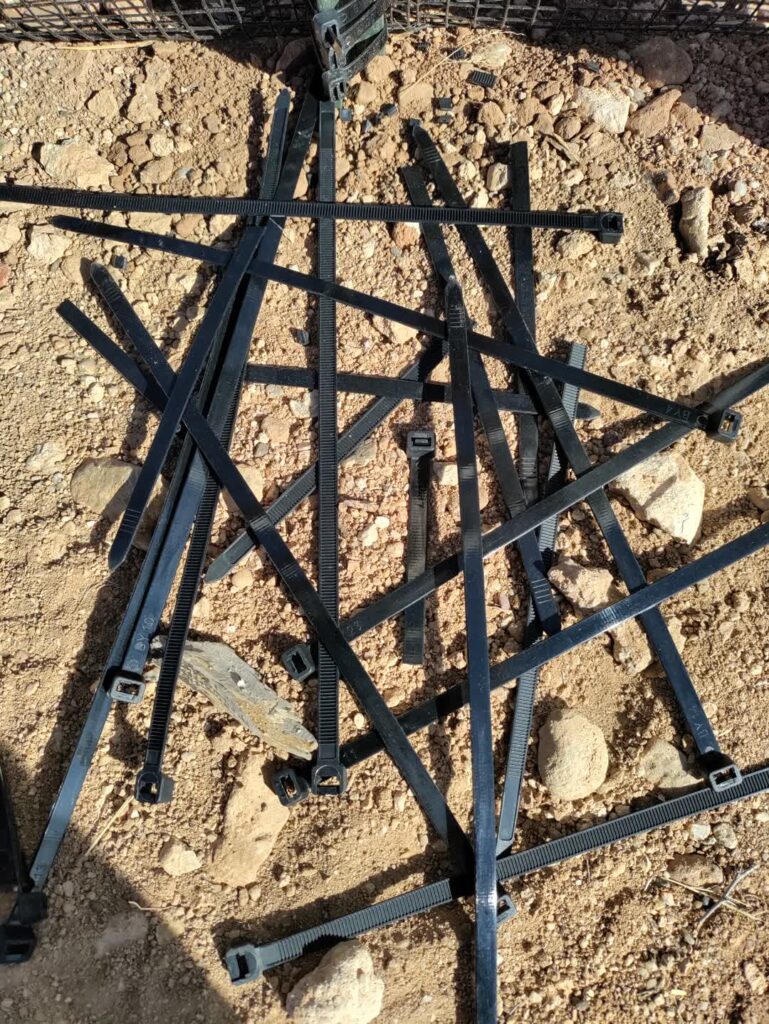
I bought their recommended digging bar and tried this approach to prepare for the next sleeve. It didn't work. It just created a few inches of loose dirt that blunted the impact of the digging bar trying to reach the solid ground below it. I was going to go buy a post hole digger to remove the dirt as I loosened it with the digging bar, but my wife volunteered to be my post hole digger so I didn't have to buy another tool (bummer because guys can't have enough tools). It turns out her arm is about 30" long so she was my post hole digger for the remaining seven gate post sleeves. But it was a painfully slow and labor-intensive process.

I'm just glad we had gone with t-posts for the 84 other fence posts rather than the supposedly-superior sleeve system that Critterfence sells. Pounding all those t-posts from a ladder I packed around with the other tools was a lot of work and often precarious, but incredibly quicker and easier than it would have been to dig 84 holes for sleeves.

Once the gates and all the posts were up we started hanging fencing. Critterfence uses heavy duty plastic zip ties (aka. cable ties) to attach the fencing to the posts. But the ties they supplied broke like crazy. We had ordered more than enough to complete the fence. During the initial fence hanging we used minimal ties with the idea of using the extras to reinforce everything. But we didn't even have enough to complete the fence with a minimal number of ties because so many broke. It's hard to express the emotion you experience when you get your fence stretched out while precariously stringing the tie through just the right spot while your help holds everything taught only to have the tie snap in pieces as soon as you start bending it around the post. So you get another tie, get everything lined up again, string it through and get it going through its head only to have the catch inside the head break. To have this happen over and over and over again dramatically slows your progress. I don't know what the record was for the number of broken ties on one spot, but at least half a dozen. Additionally, some of the ties that we had secured in place were broken as we walked the fence line before it was all finished. We ran out of ties before it was all up and had to get whatever we could find in town in order to finish up while waiting for customer service to help us. They ignored us until I called again and then they sent us some more of the heavy duty ties so we had enough to get everything reinforced. But then we made a bunch of metal ties from old barbwire and put one on every post. We'll have to step-by-step replace them all as they break.
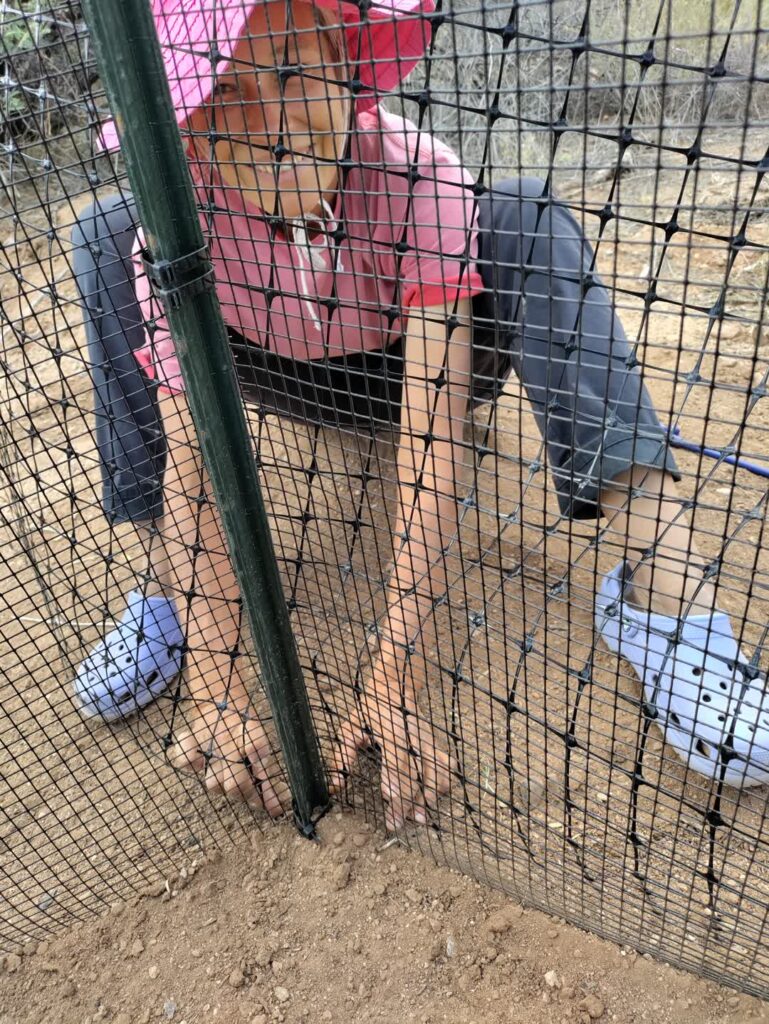
We used two types of fencing. The top half of the fence is deer net only and the bottom half includes 1/2" square, welded wire, chew guard buried six inches in the ground. The welded wire is also secured in the ground with 12" kinked stakes every 4' or so. The galvanized, stainless steel stakes also needed holes "pre-drilled" with a massive 12" nail, otherwise they bent as they were pounded into the ground.

We intentionally do most of our projects using low-tech solutions without any electric tools. After installing almost 1100' of garden fence, along with all of our other interesting projects, I felt more fit at 49 years old than I've ever felt in my life. I love ranch work! Many people pay to workout in ways that are so deficient compared to the variety of things I get to do that provide a full body workout. Those that use mechanical workout systems develop comparatively fewer muscles and are much more prone to injury in real life scenarios. Ranch work builds a body fit for usefulness.

Squadrons of javelina (wild, boar-like beasts) had been raiding our gardens regularly for weeks leading up to the completion of the fence. There wasn't much left for them so they left us alone for a week or so before they tried getting through the new fence. They are rooters and have no problem digging holes and burrows. The 12" stakes may have seemed like overkill, but they were literally the final straw that caused them to give up rather than get through. They exposed several feet of the bottom of the buried welded wire fence and had started to pry it up in one spot, but a stake provided just enough resistance to cause them to give up. They haven't made another attempt since. Nor have any other critters we were trying to fence out. We'll see how creative they all get when there's a bunch of food growing on the inside of the fence.