One of the things I said I'd include in this blog is some of the simple, DIY projects we work on. This one is really cool! I combined a rocket stove with a rocket mass heater and created a hybrid of the two. These are extremely efficient compared to a conventional fire (eg. wood stove or campfire). Some of the topics covered in this post could be very helpful in a survival-type situation.

I'll briefly describe both rocket stoves and rocket mass heaters. But first, lets discuss what they have in common.
- They sound like a rocket! If you’ve ever heard a chimney fire, you know exactly what I mean.
- They produce almost no smoke – probably around 10% or less than a conventional fire. This is because they burn so hot with essentially a constant chimney fire that all the smoke is burnt up. The exhaust is mostly steam. You can normally only see smoke while getting your fire started.
- They use about 10% the amount of wood that a conventional fire would require for the same purpose. Literally all it takes to run them is handfuls of twigs.
- They can both be built for next to nothing using repurposed materials.
Rockets stoves are used around the world to cook food. There are endless ways to make a rocket stove. One of the most common ways is using two tin cans - a larger and a smaller. A hole is cut near the bottom of the larger can for the smaller can to slide part way into. The smaller can has the top and bottom removed and serves as the wood feed while the larger can is the burn chamber and chimney. Air flow is in a L shape. Something like a grill is placed on top for a cooking surface. These are only appropriate for outdoor use and can be made very portable.

Rocket mass heaters are a newer technology used to heat homes, hot water, cooktops, and ovens. They have a massive bench attached to them that is warm and comfy to sit on. A typical rocket mass heater starts with a J shape instead of a L shape and is often made with fire brick. The short side of the J is the wood feed, the bottom is the burn tunnel, and the long side is the heat riser. The heat riser has something like an upside-down 55 gallon drum over and around it with enough room for the hot air to exit the heat riser and circulate in the drum. The drum has an exhaust near the bottom where the hot air enters chimney piping and travels horizontally through the bench, heating it up before eventually exiting the side of the house. The bench is filled with material such as cob or gravel for thermal mass. A fire can be burned for just an hour or so and the bench will continue to radiate heat for a day or so.

If either rocket stoves or rocket mass heaters pique your interest, just do a quick web search and you'll find all kinds of additional details.
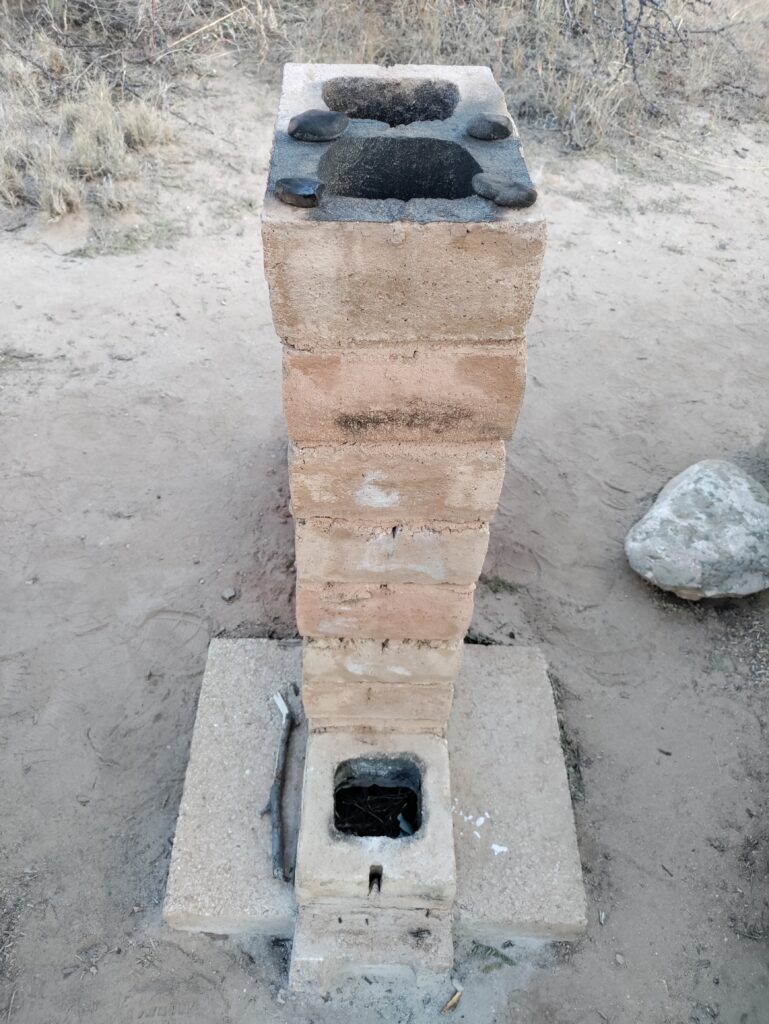
Hybrid: Rocket Heater
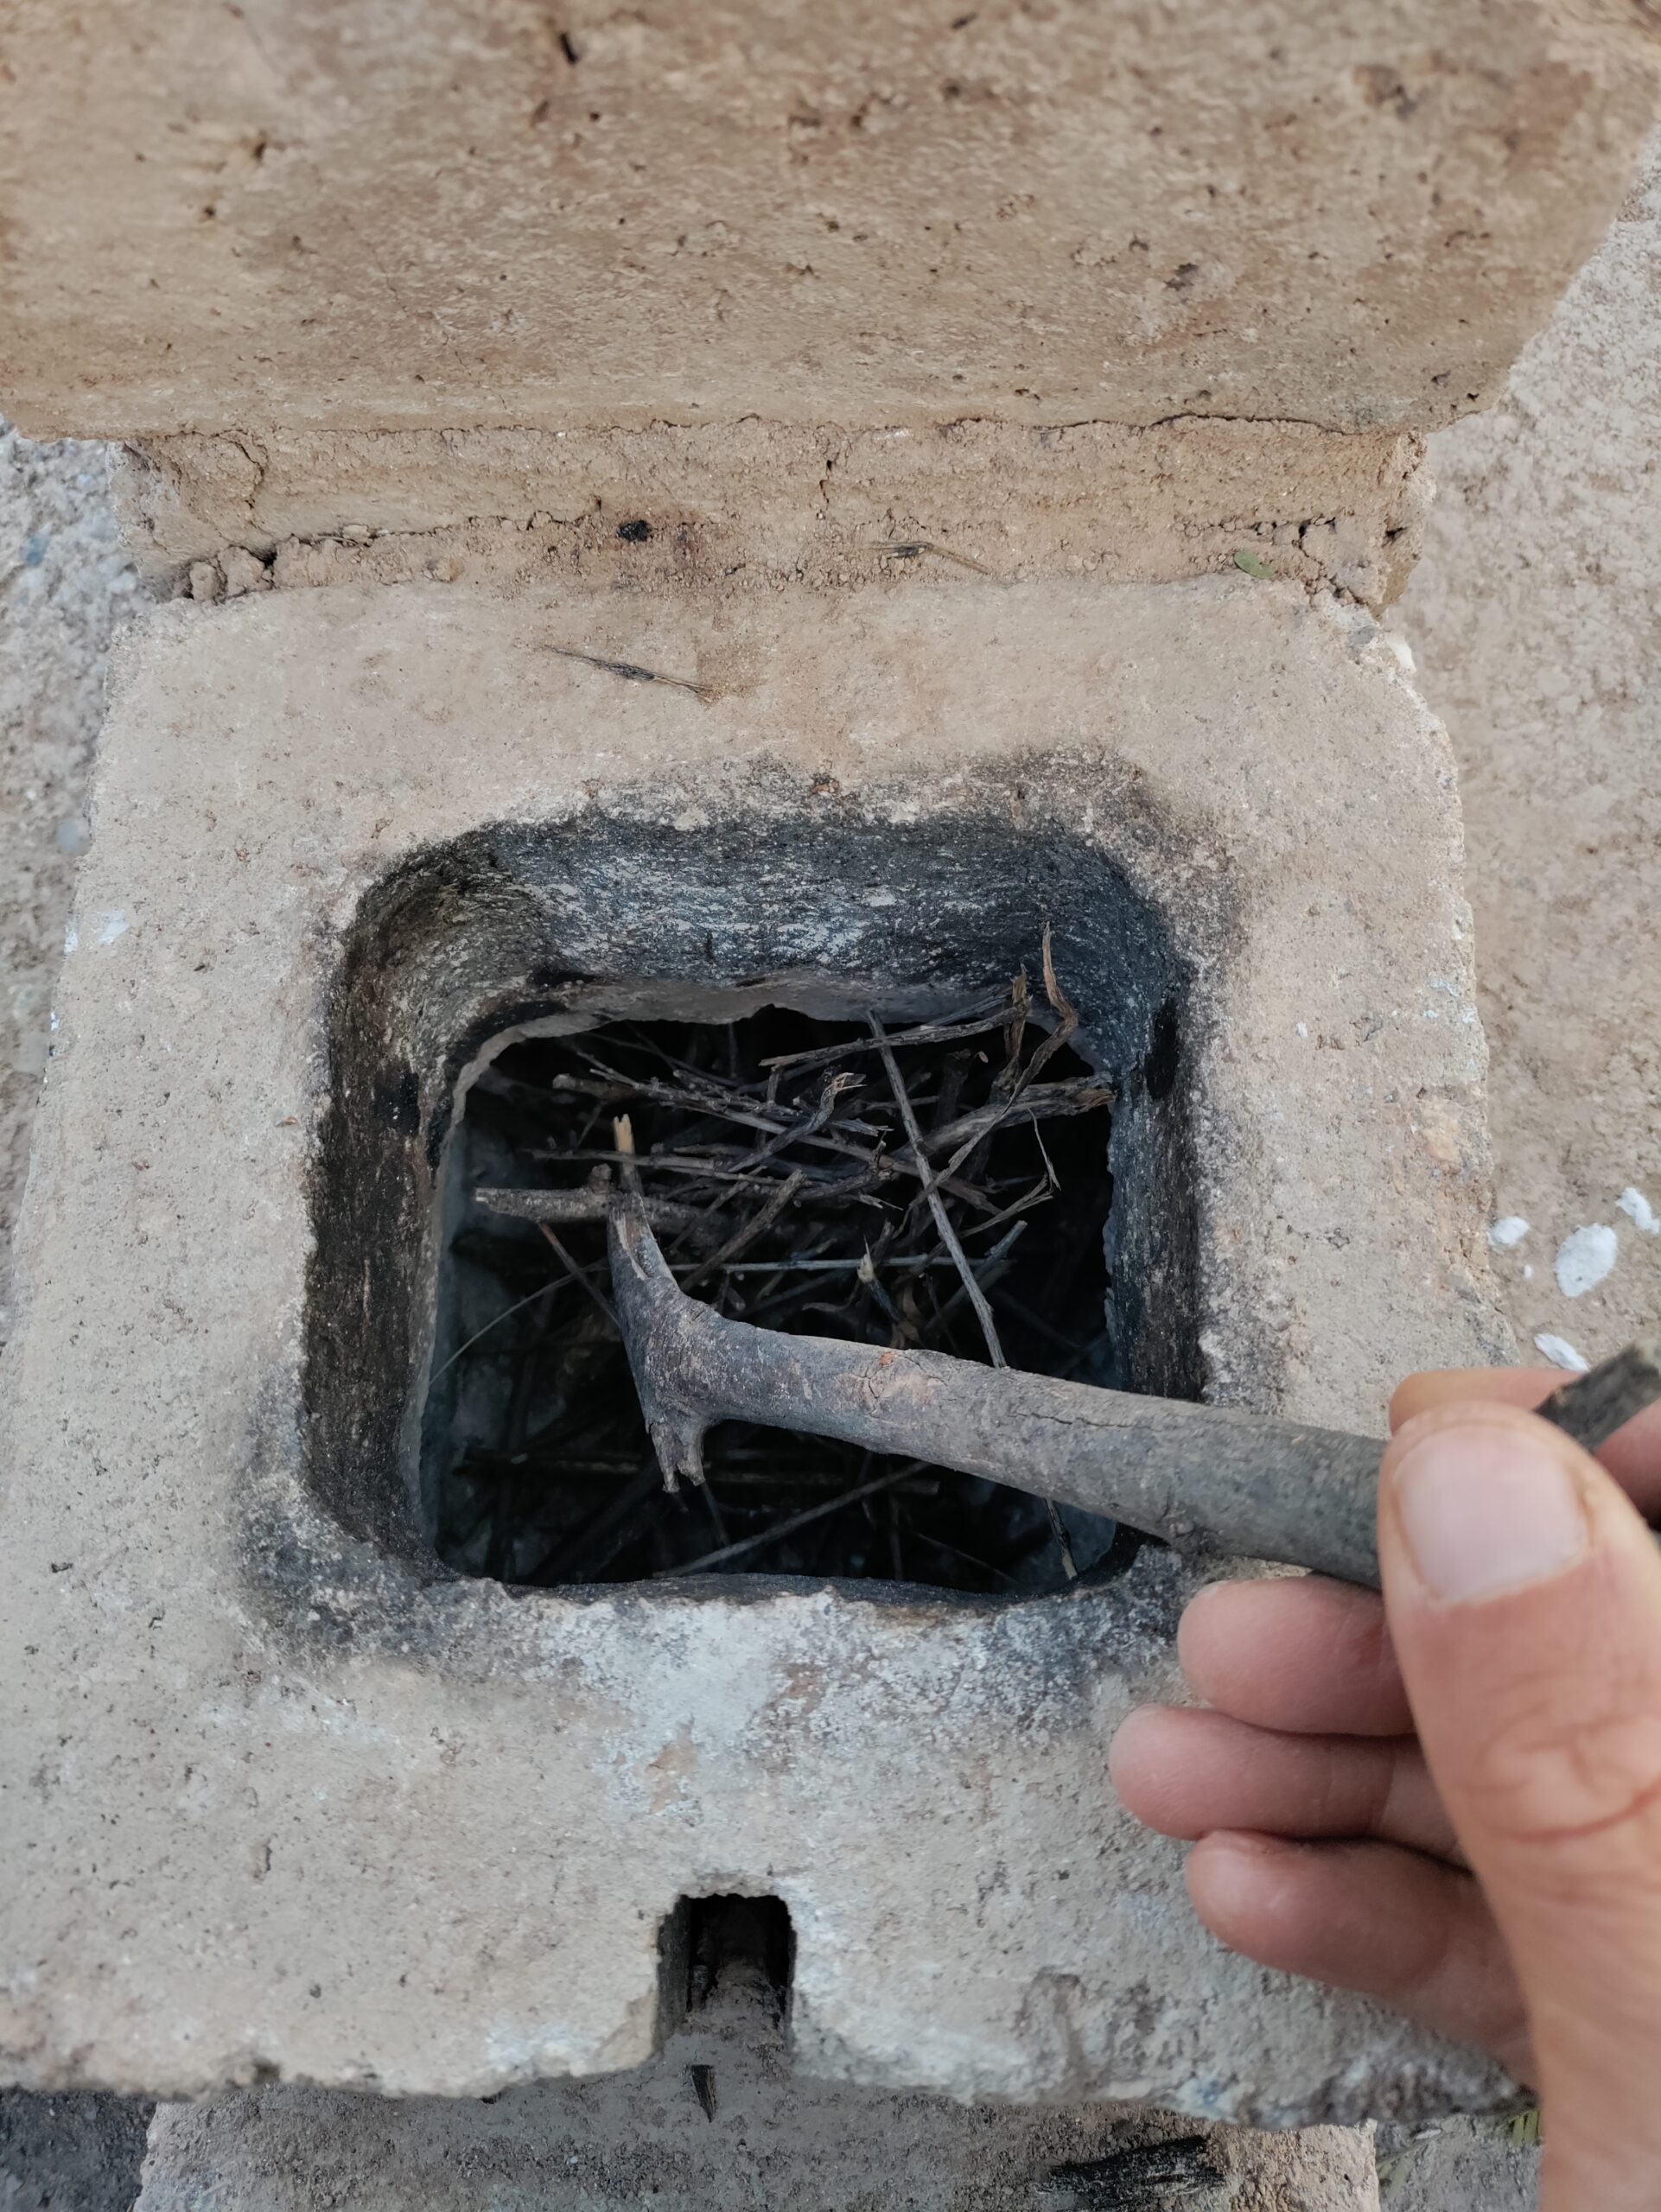
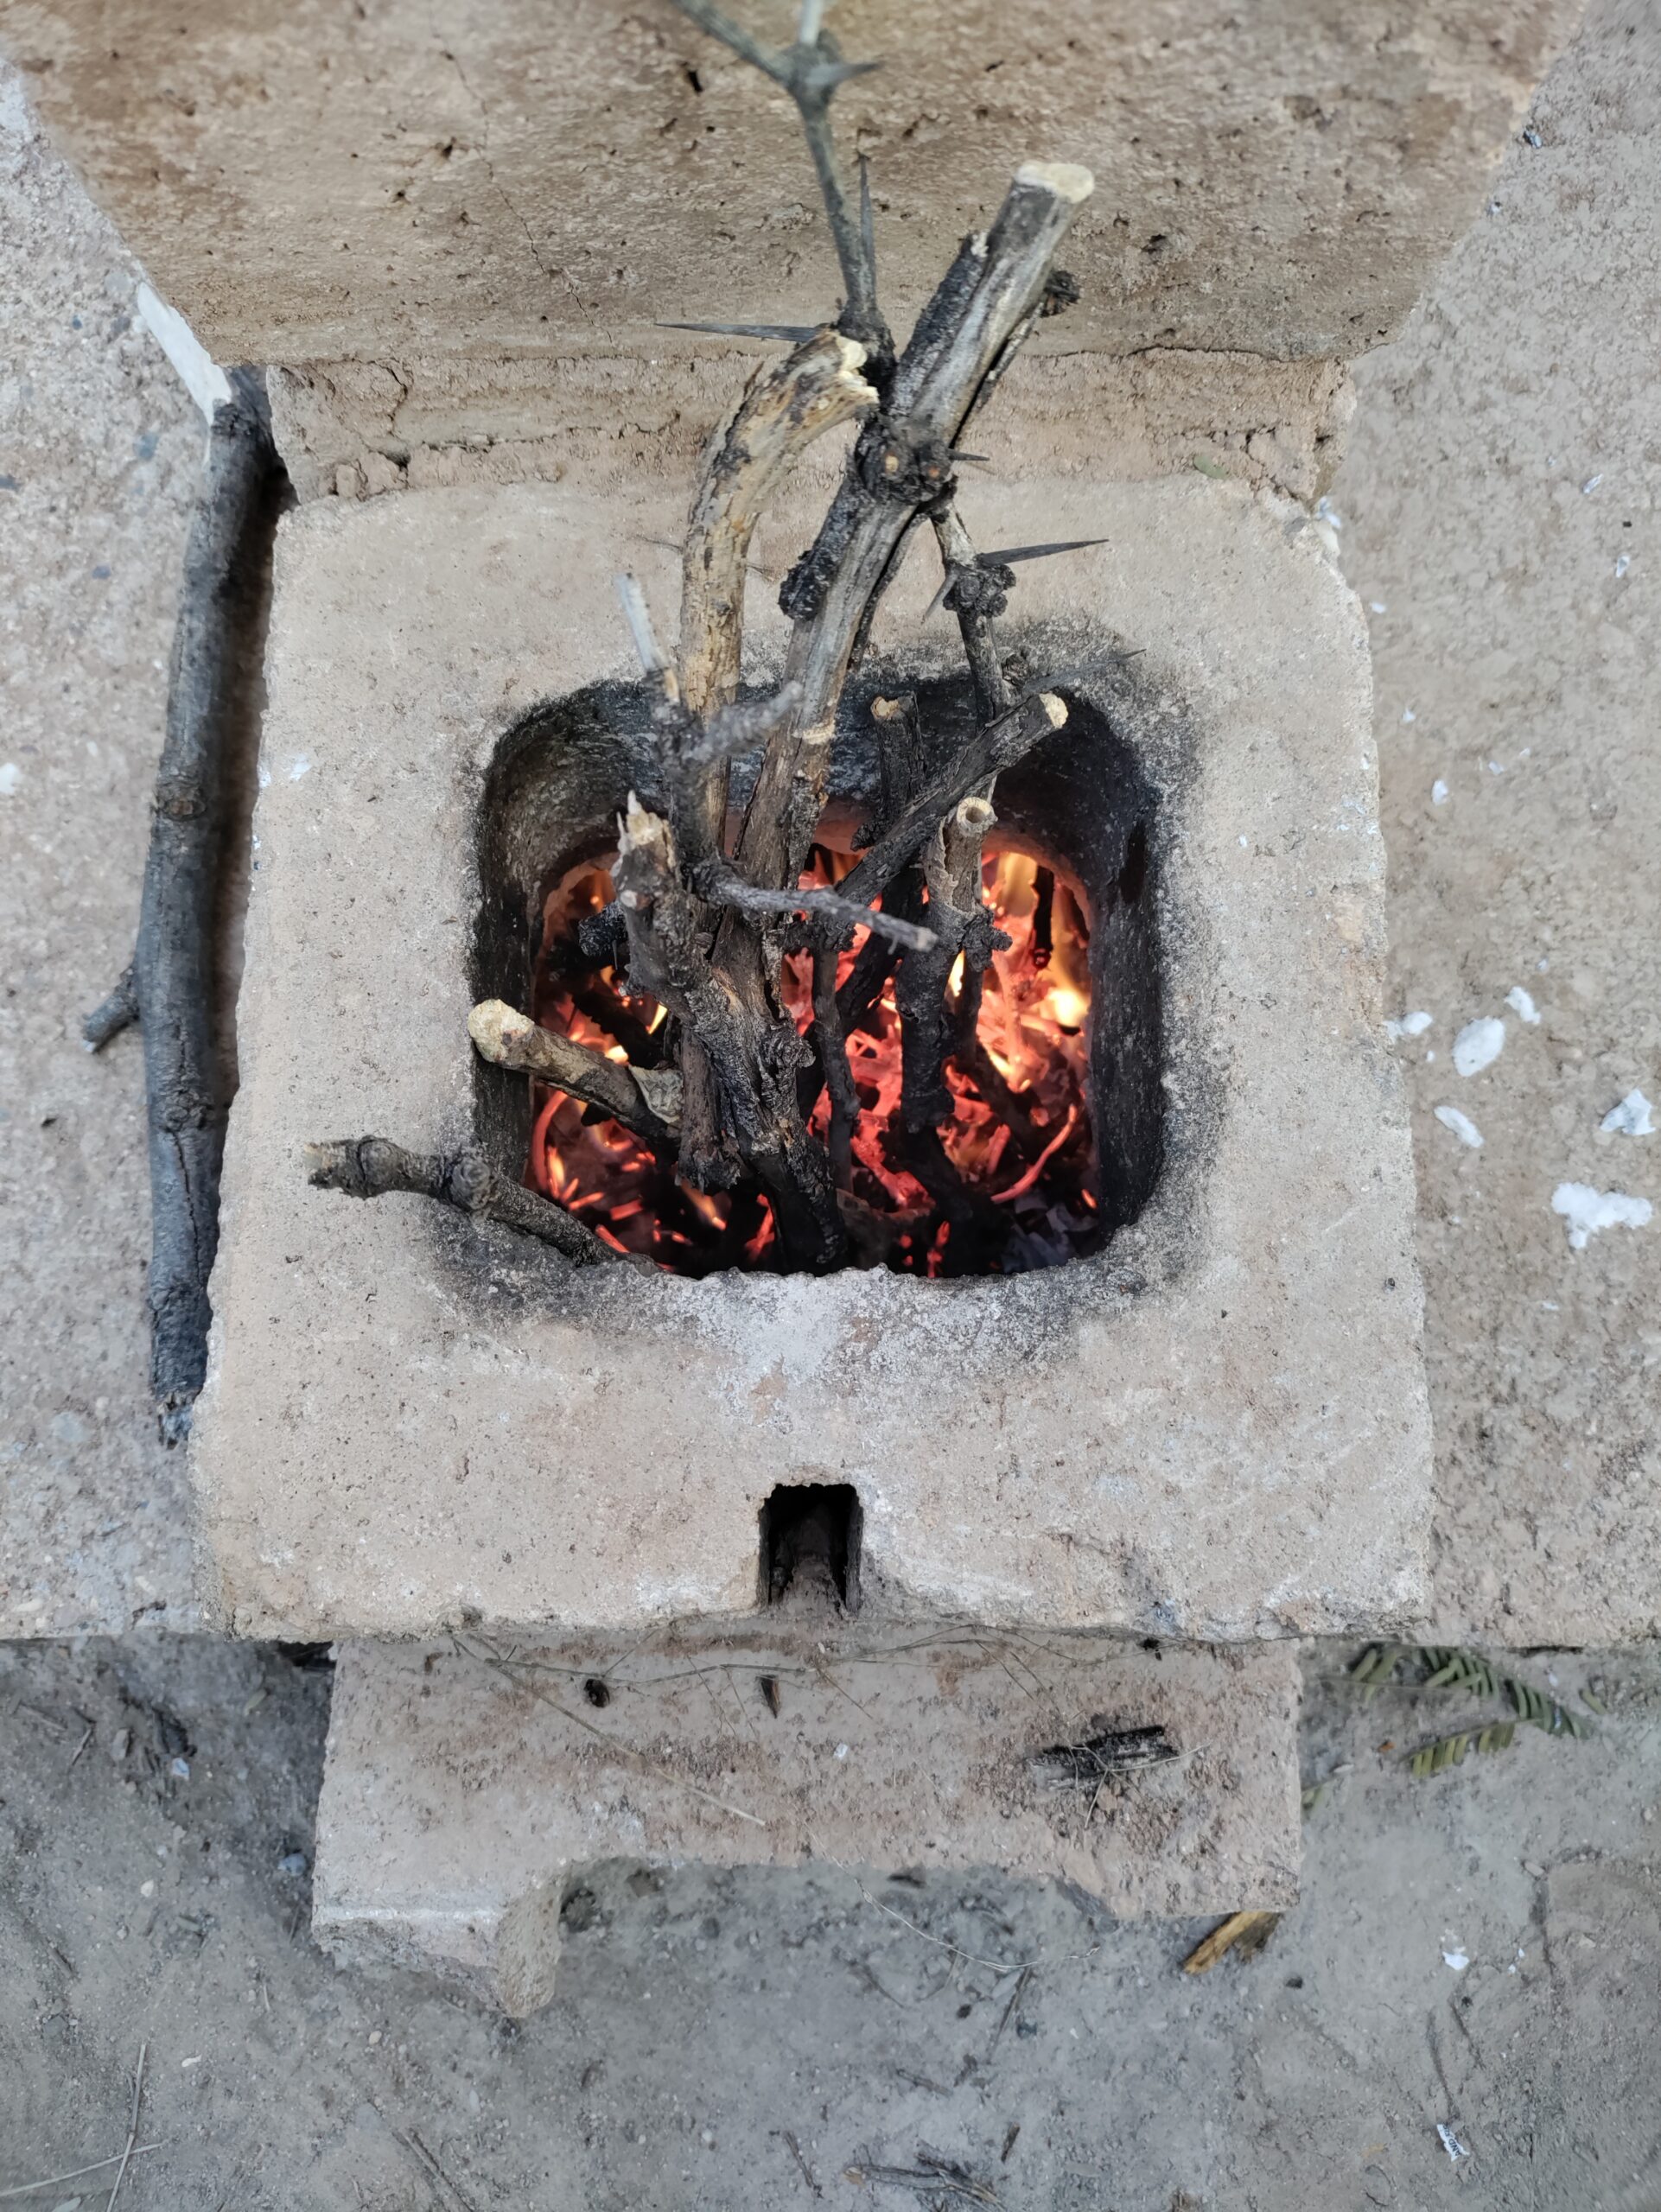
Someone took apart their well house made of slump block, chipped the mortar off, and gave the blocks to me. Slump block is concrete made to look like adobe bricks. Unlike cinder block, it can handle the heat of a hot fire and has some decent thermal mass. I like playing with Legos so I stacked them up in various configurations until I found one I was satisfied with. I screened some sand using window screen and dirt, added water, and used that for temporary mortar. My first design was in the spirit of a rocket mass heater with a small bench. After firing it up I found it was very difficult to keep the air flowing in the intended direction.

It took a number of times rebuilding it to arrive at something that worked. I'll spare you the details of all my experiments and just share what ended up working quite nicely. It's more like a J-shaped rocket stove with thermal mass that radiates heat. You can have a fire for 20-30 minutes and the mass continues to provide heat for a few hours. This is all you need in the morning on the desert as it warms up fairly rapidly after the sun comes up. In the meantime you can stop by the rocket heater and warm up whenever you need to while going about your morning chores.

While troubleshooting I couldn't find much information about starting your fire with correct airflow so I'll let you in on the secrets I discovered through trial and error. I'm no stranger to starting all types of fires with plenty of experience throughout my life. There's an art and science to starting and working with fire, but the principles are fairly simple. Fire needs to breath and you can easily smother it with water, dirt, or even too much fuel all at once. You must start with material that burns super easily like dry, grass-size twigs or paper. As the small stuff catches fire it is leveraged to start progressively bigger pieces on fire all the way up to logs.
“Government is not reason; it is not eloquent; it is force. Like fire, it is a dangerous servant and a fearful master.”
George Washington
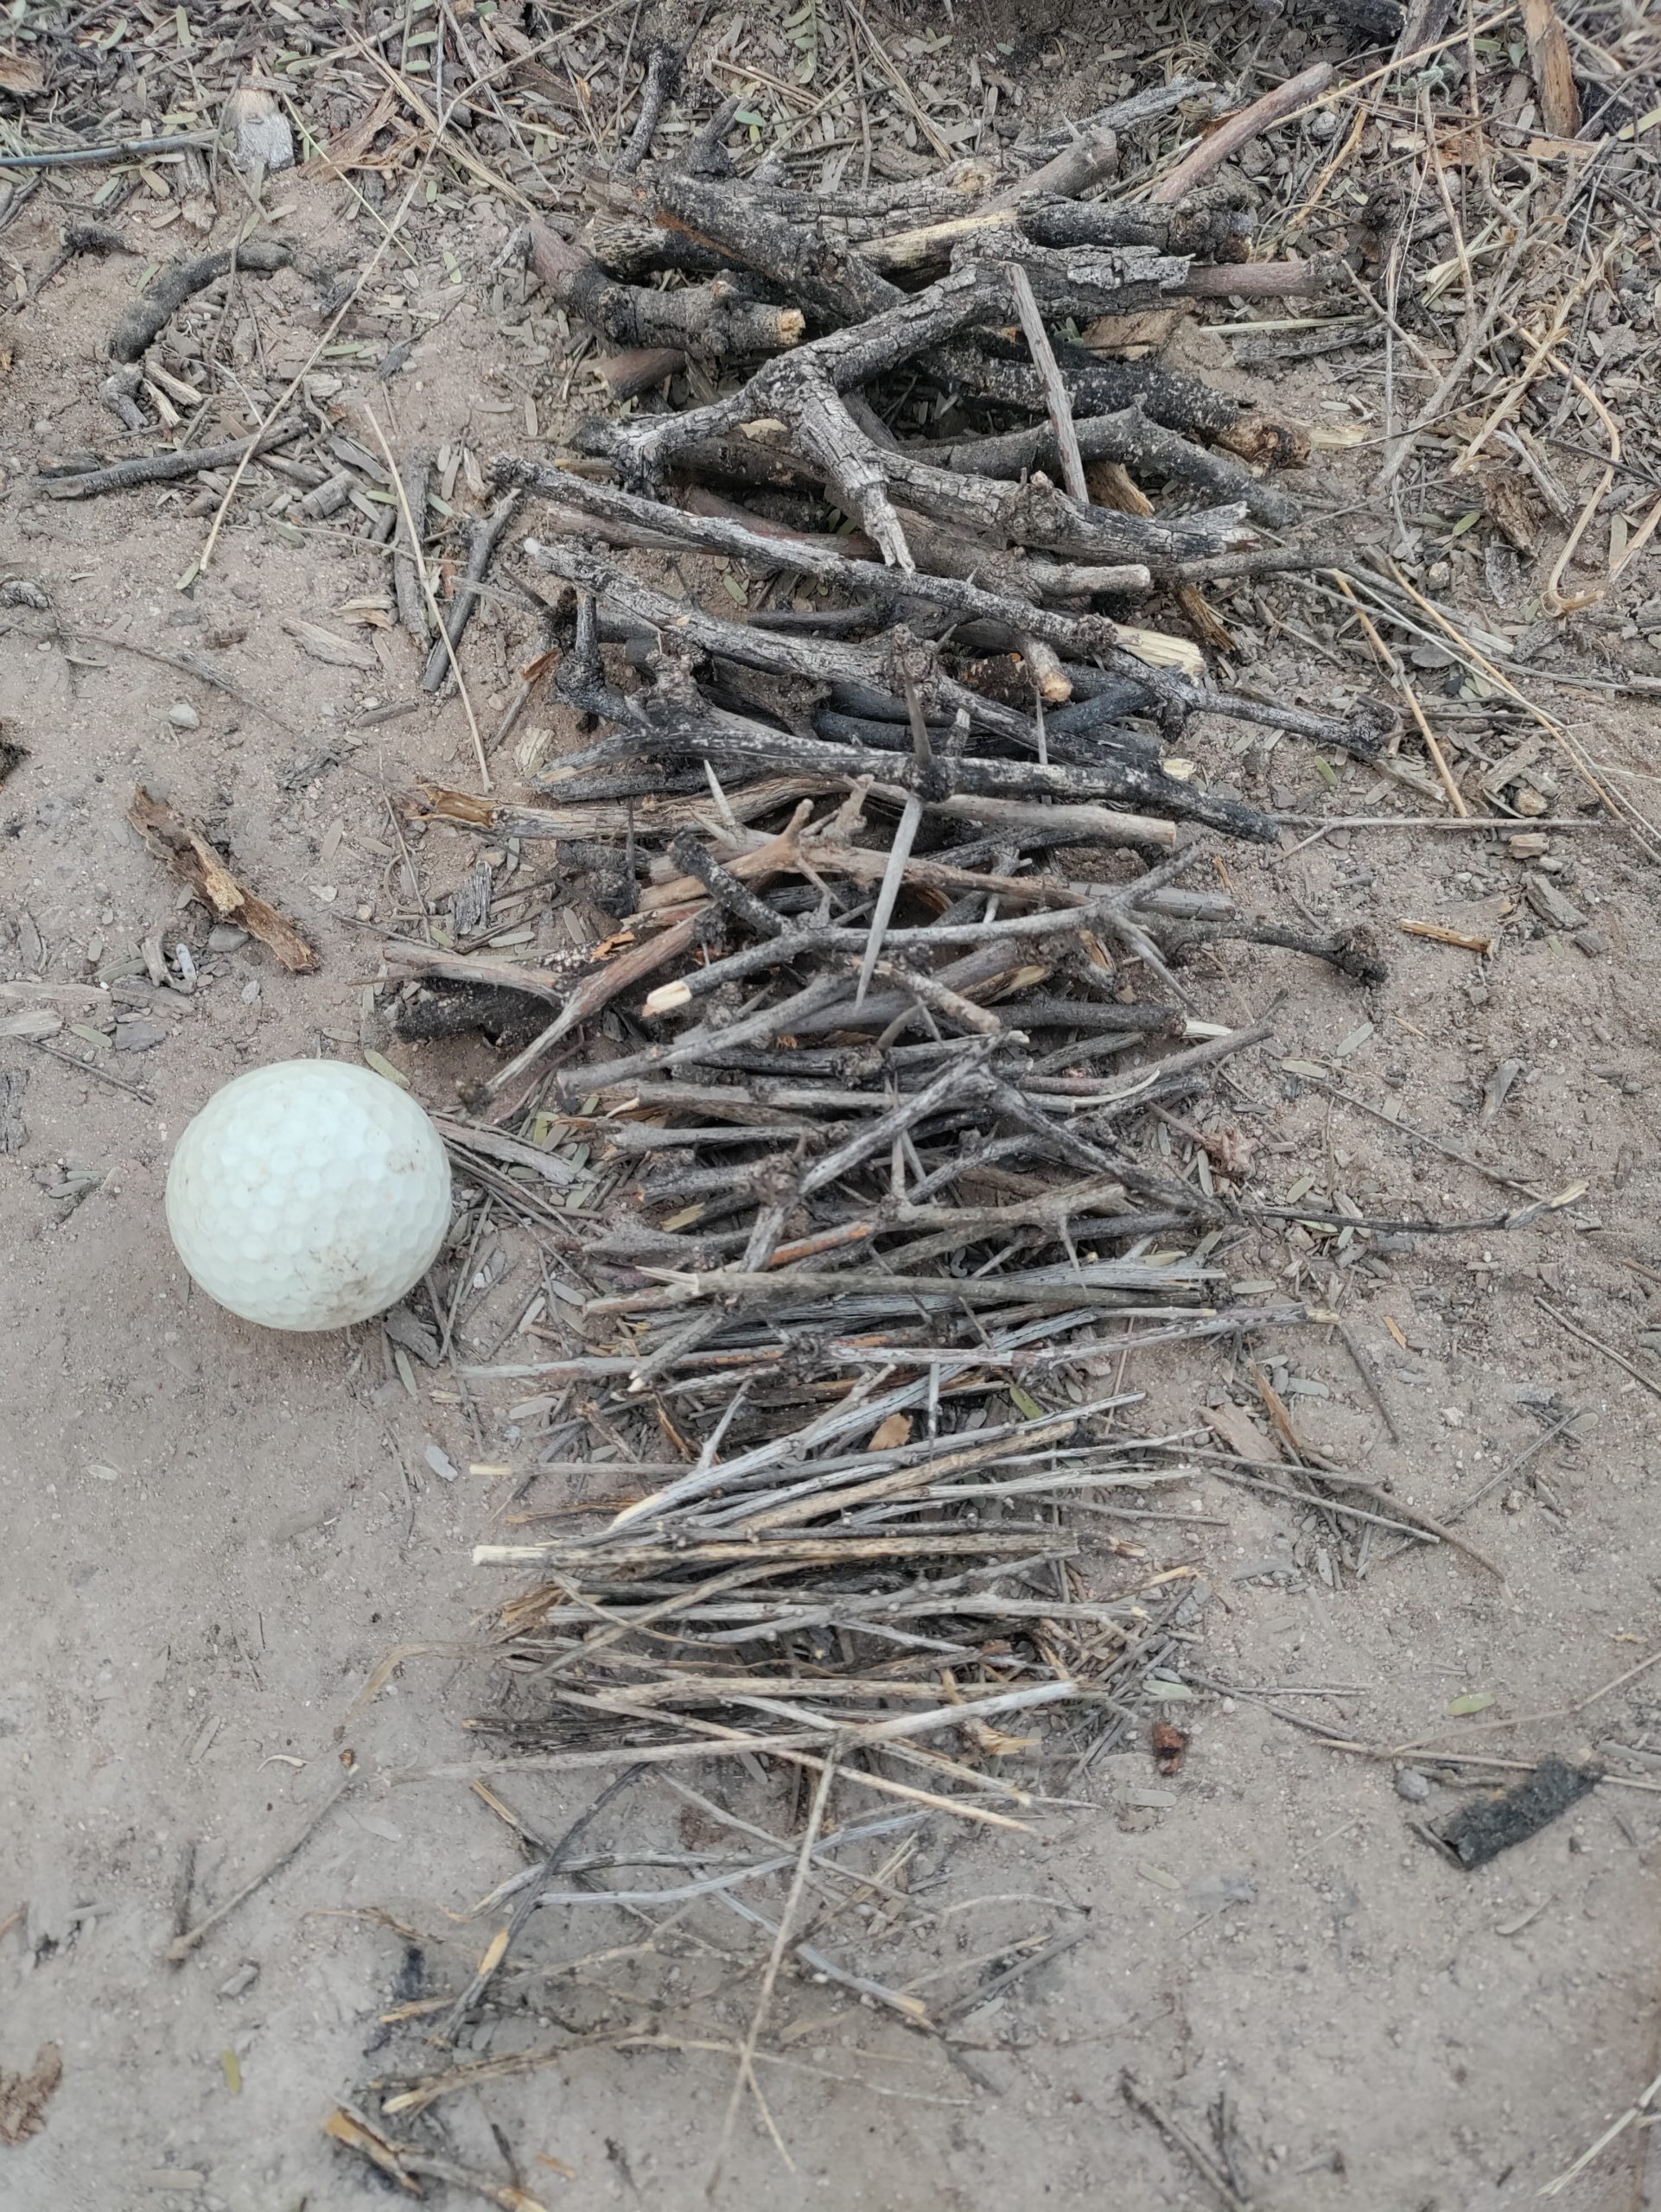
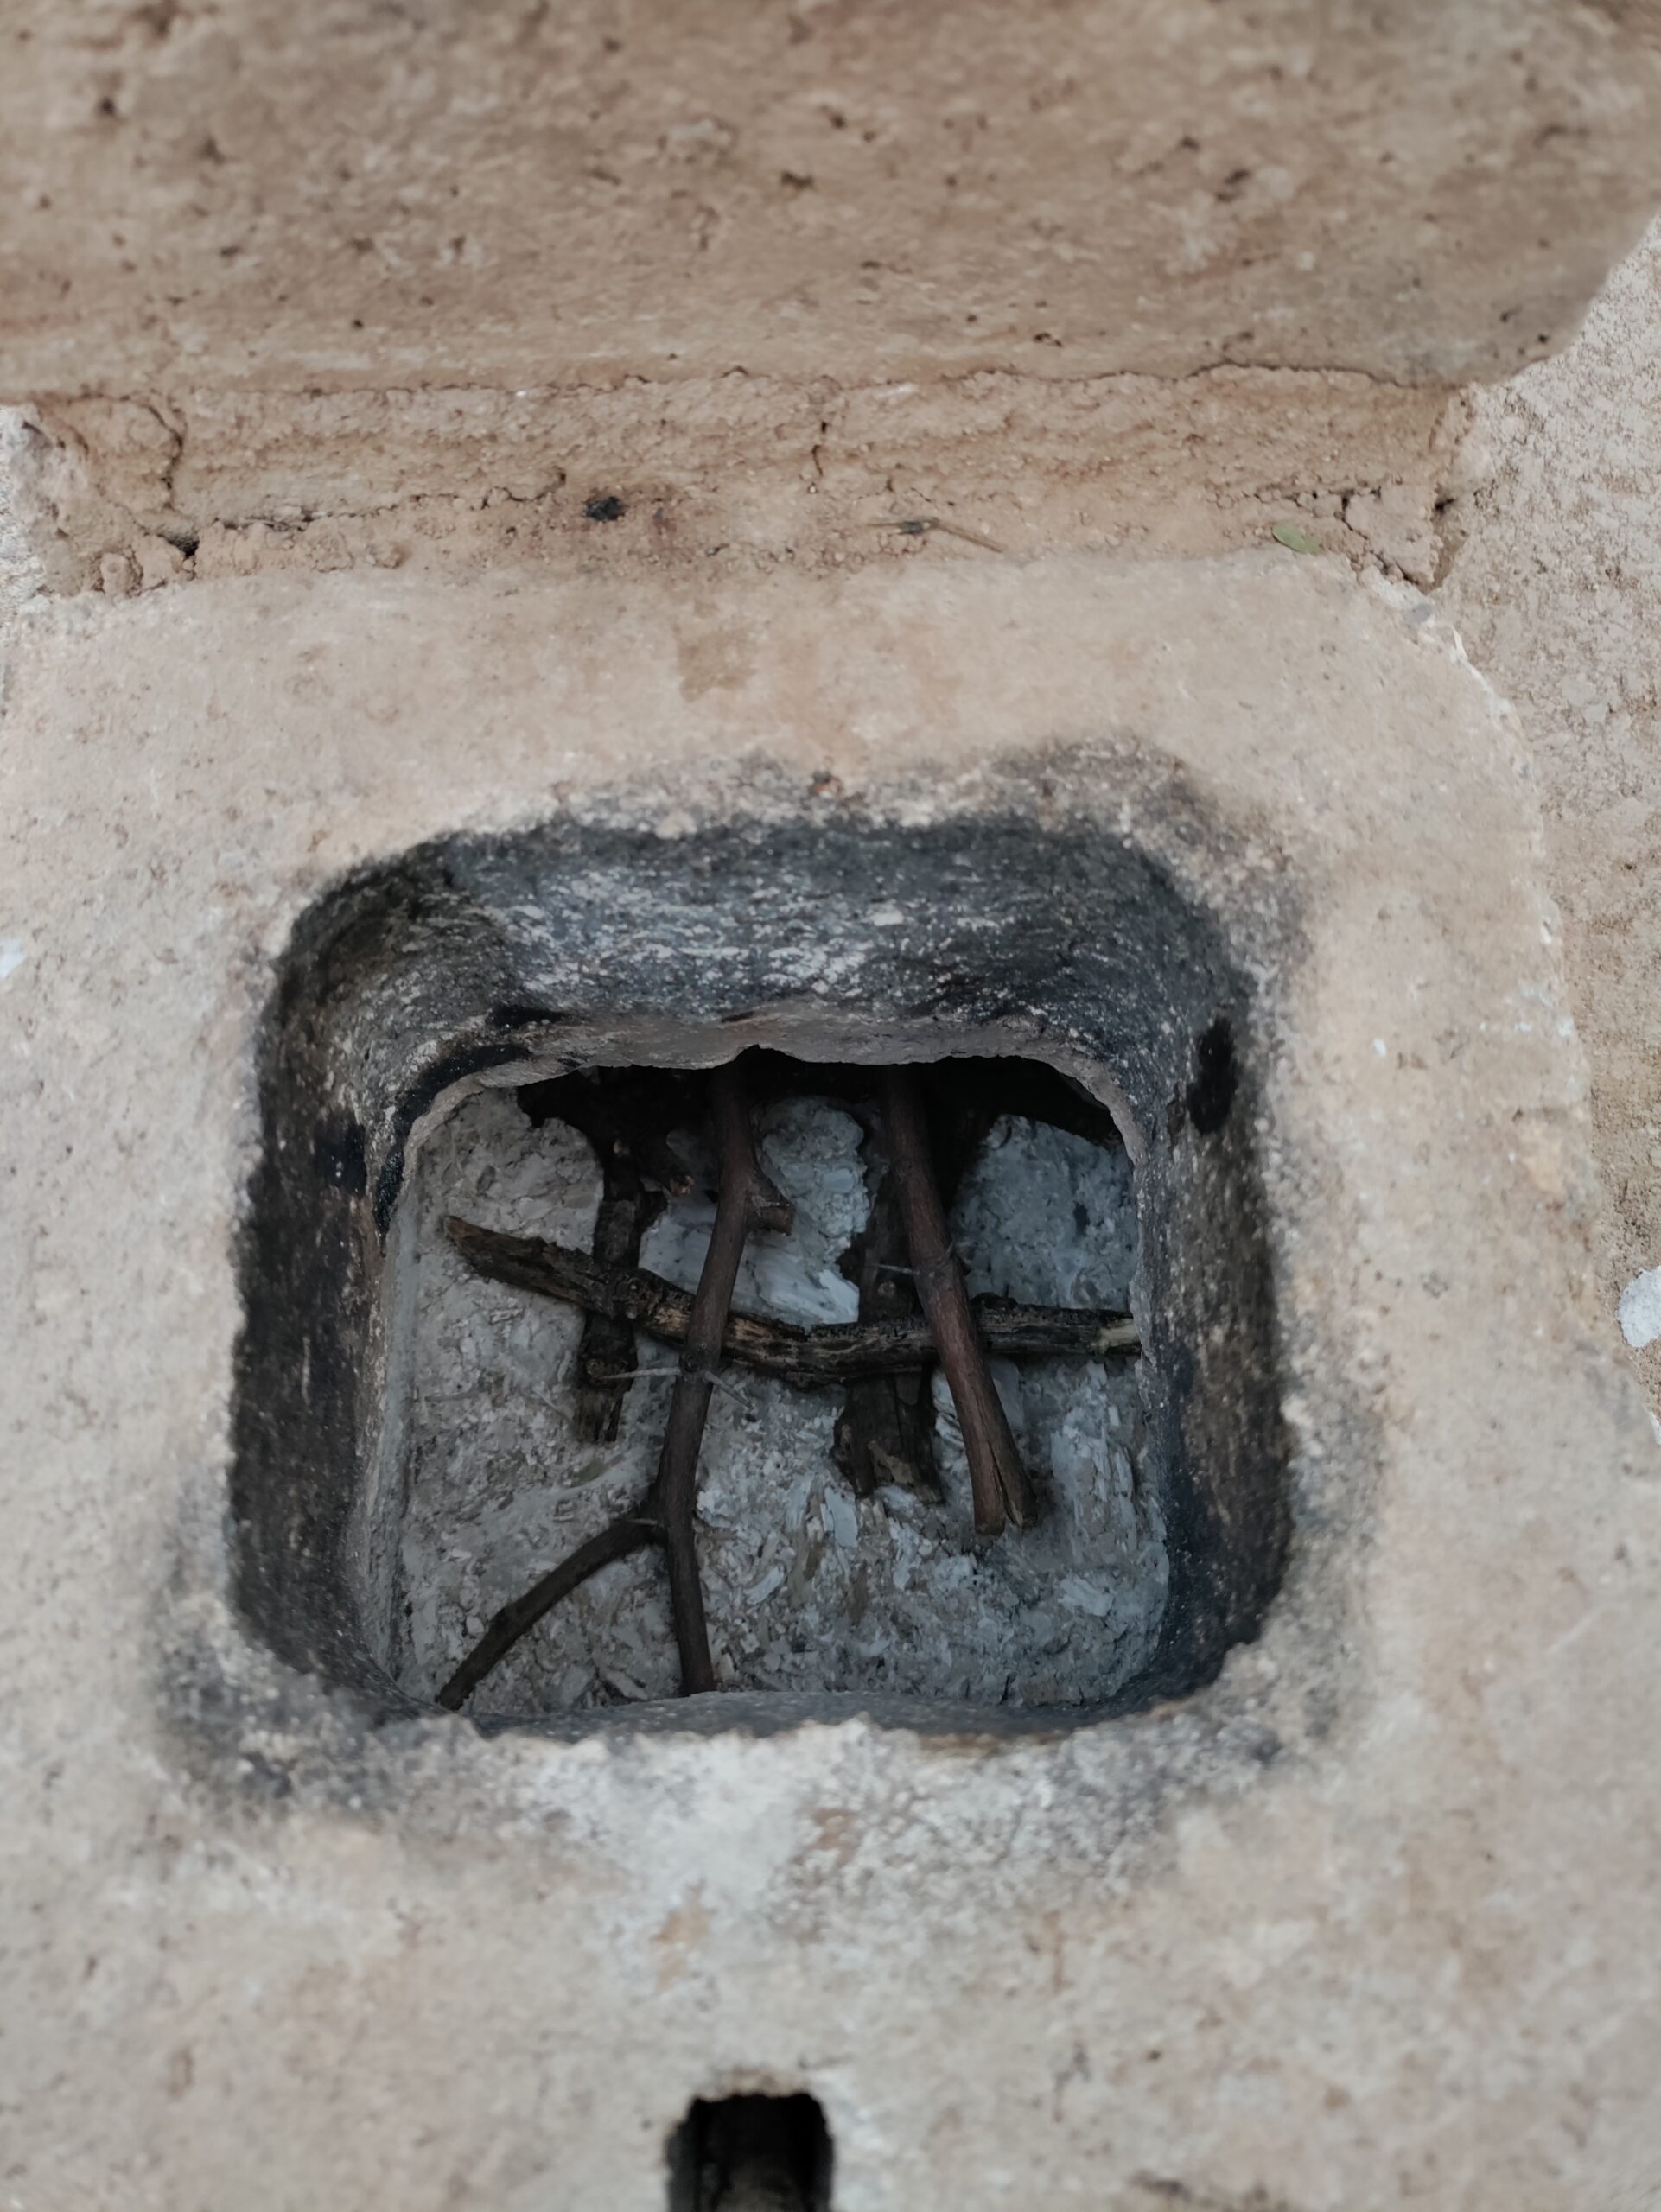
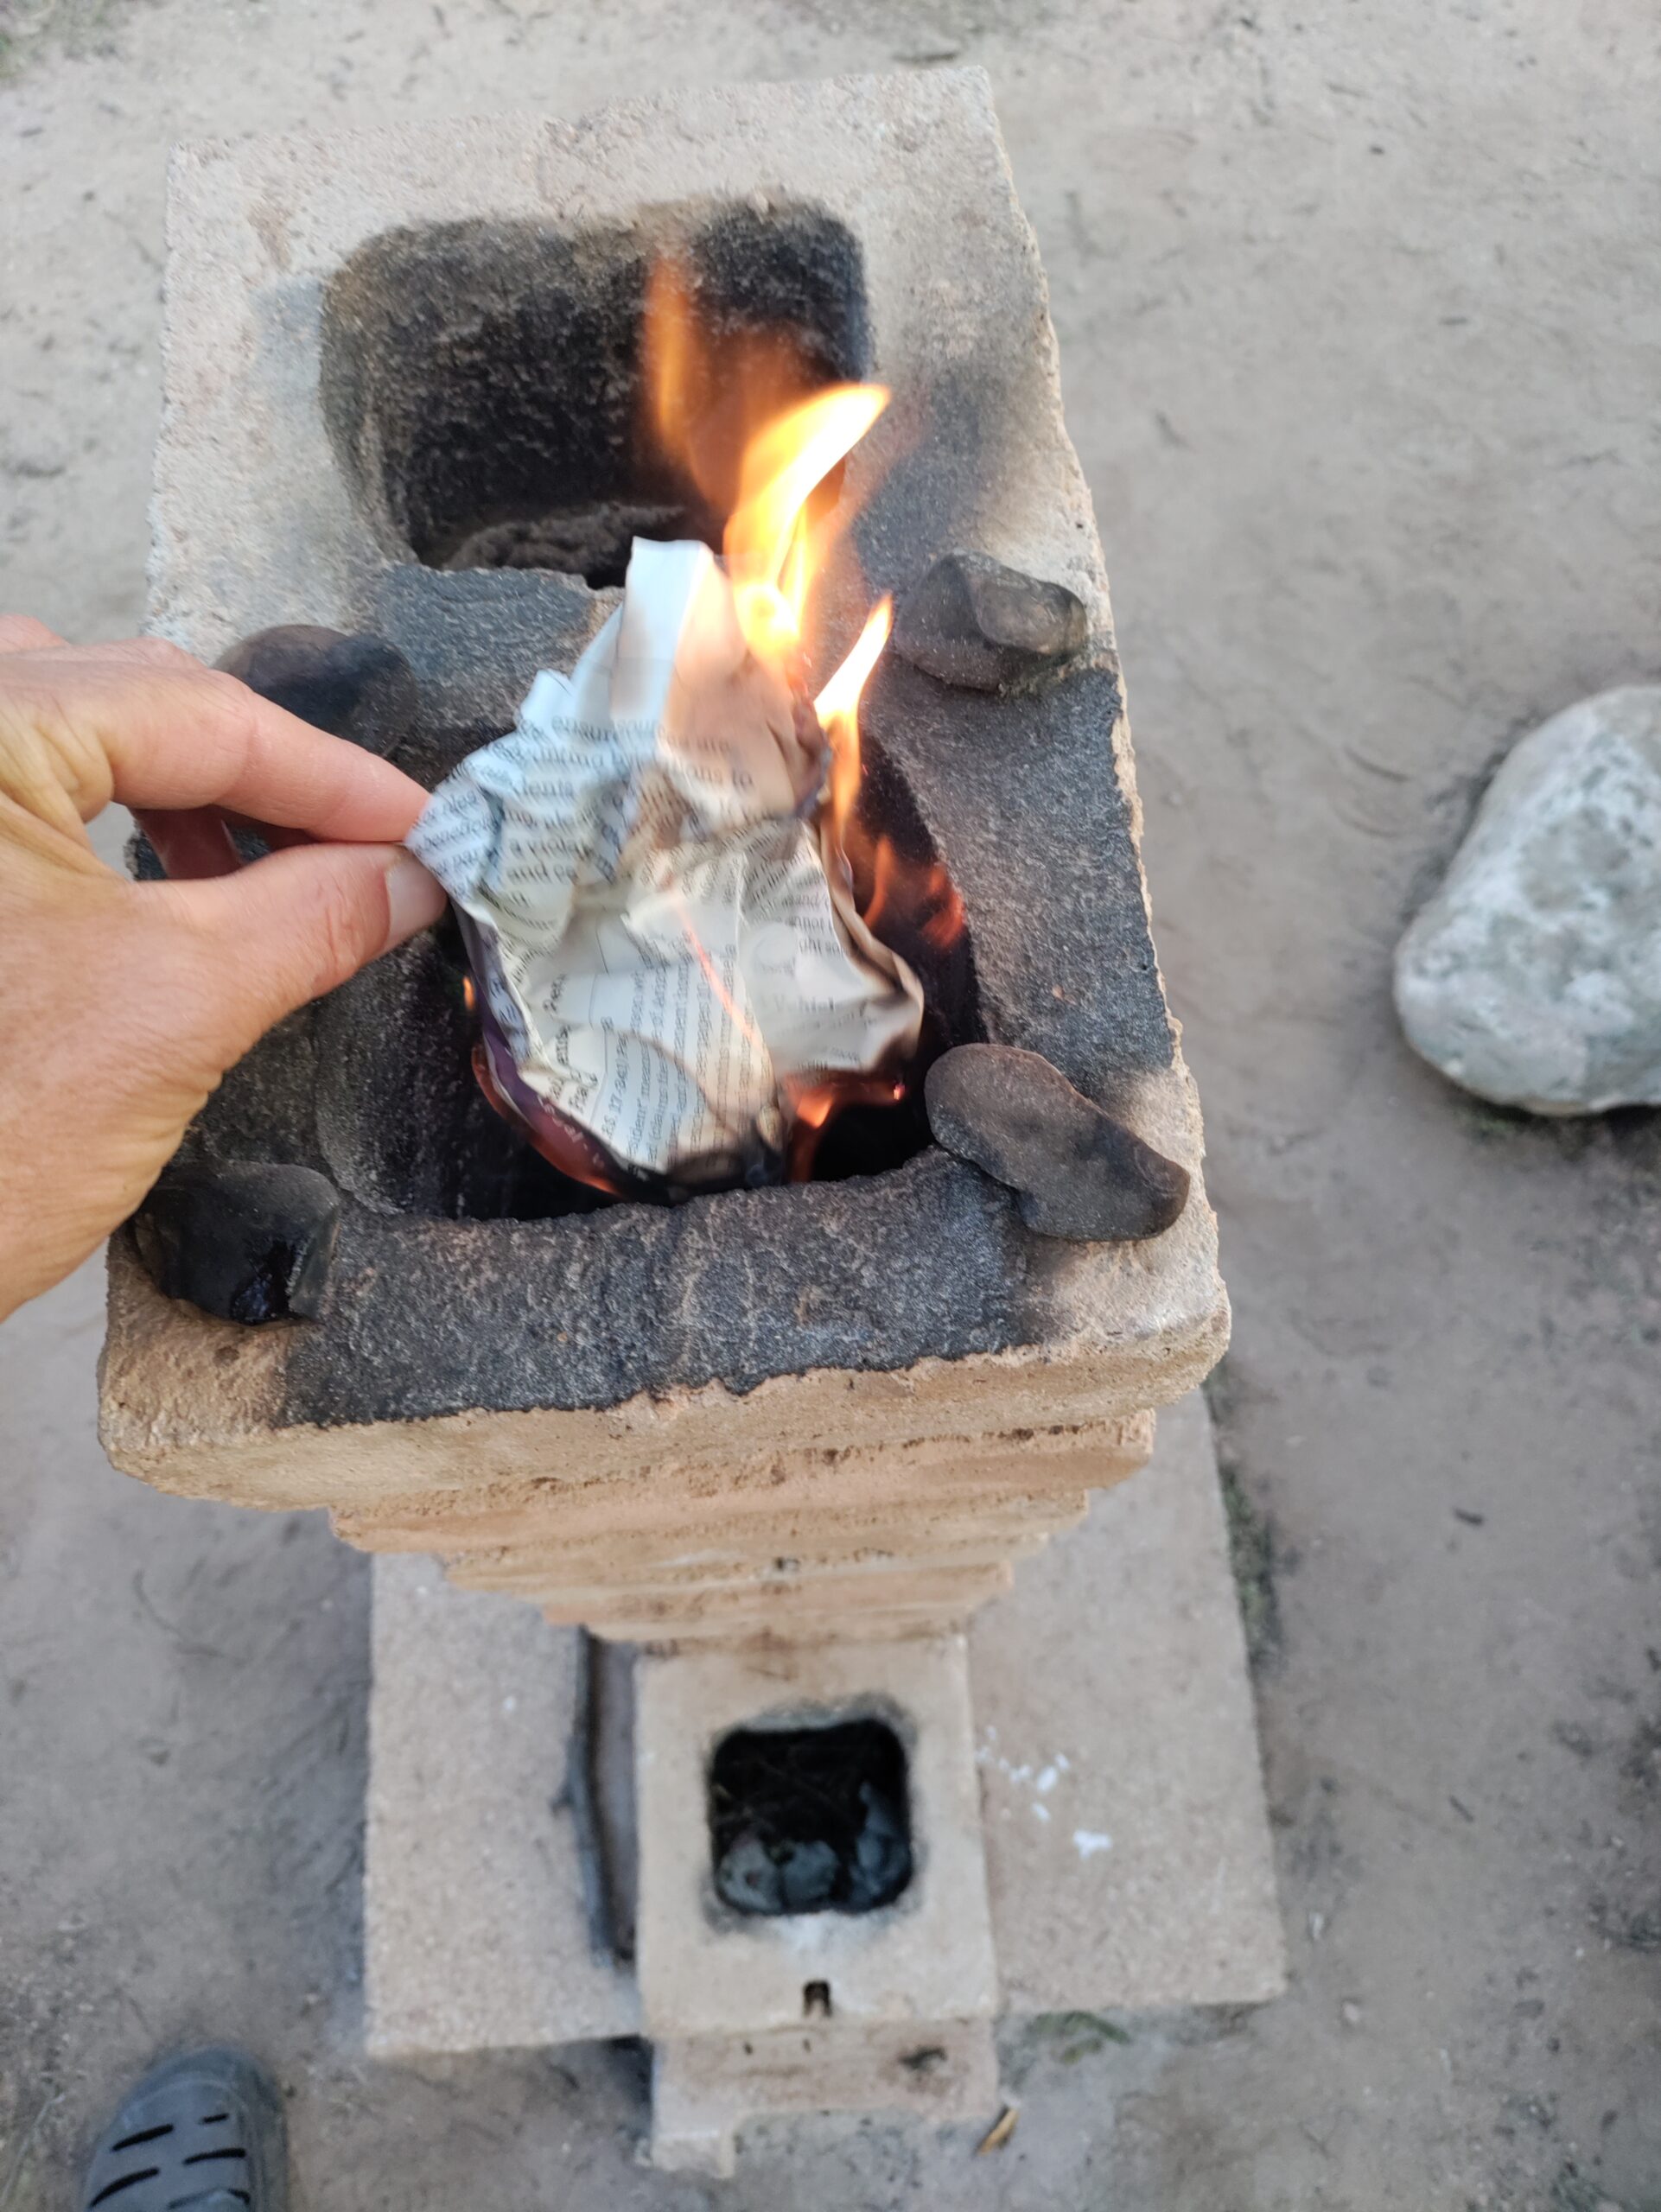
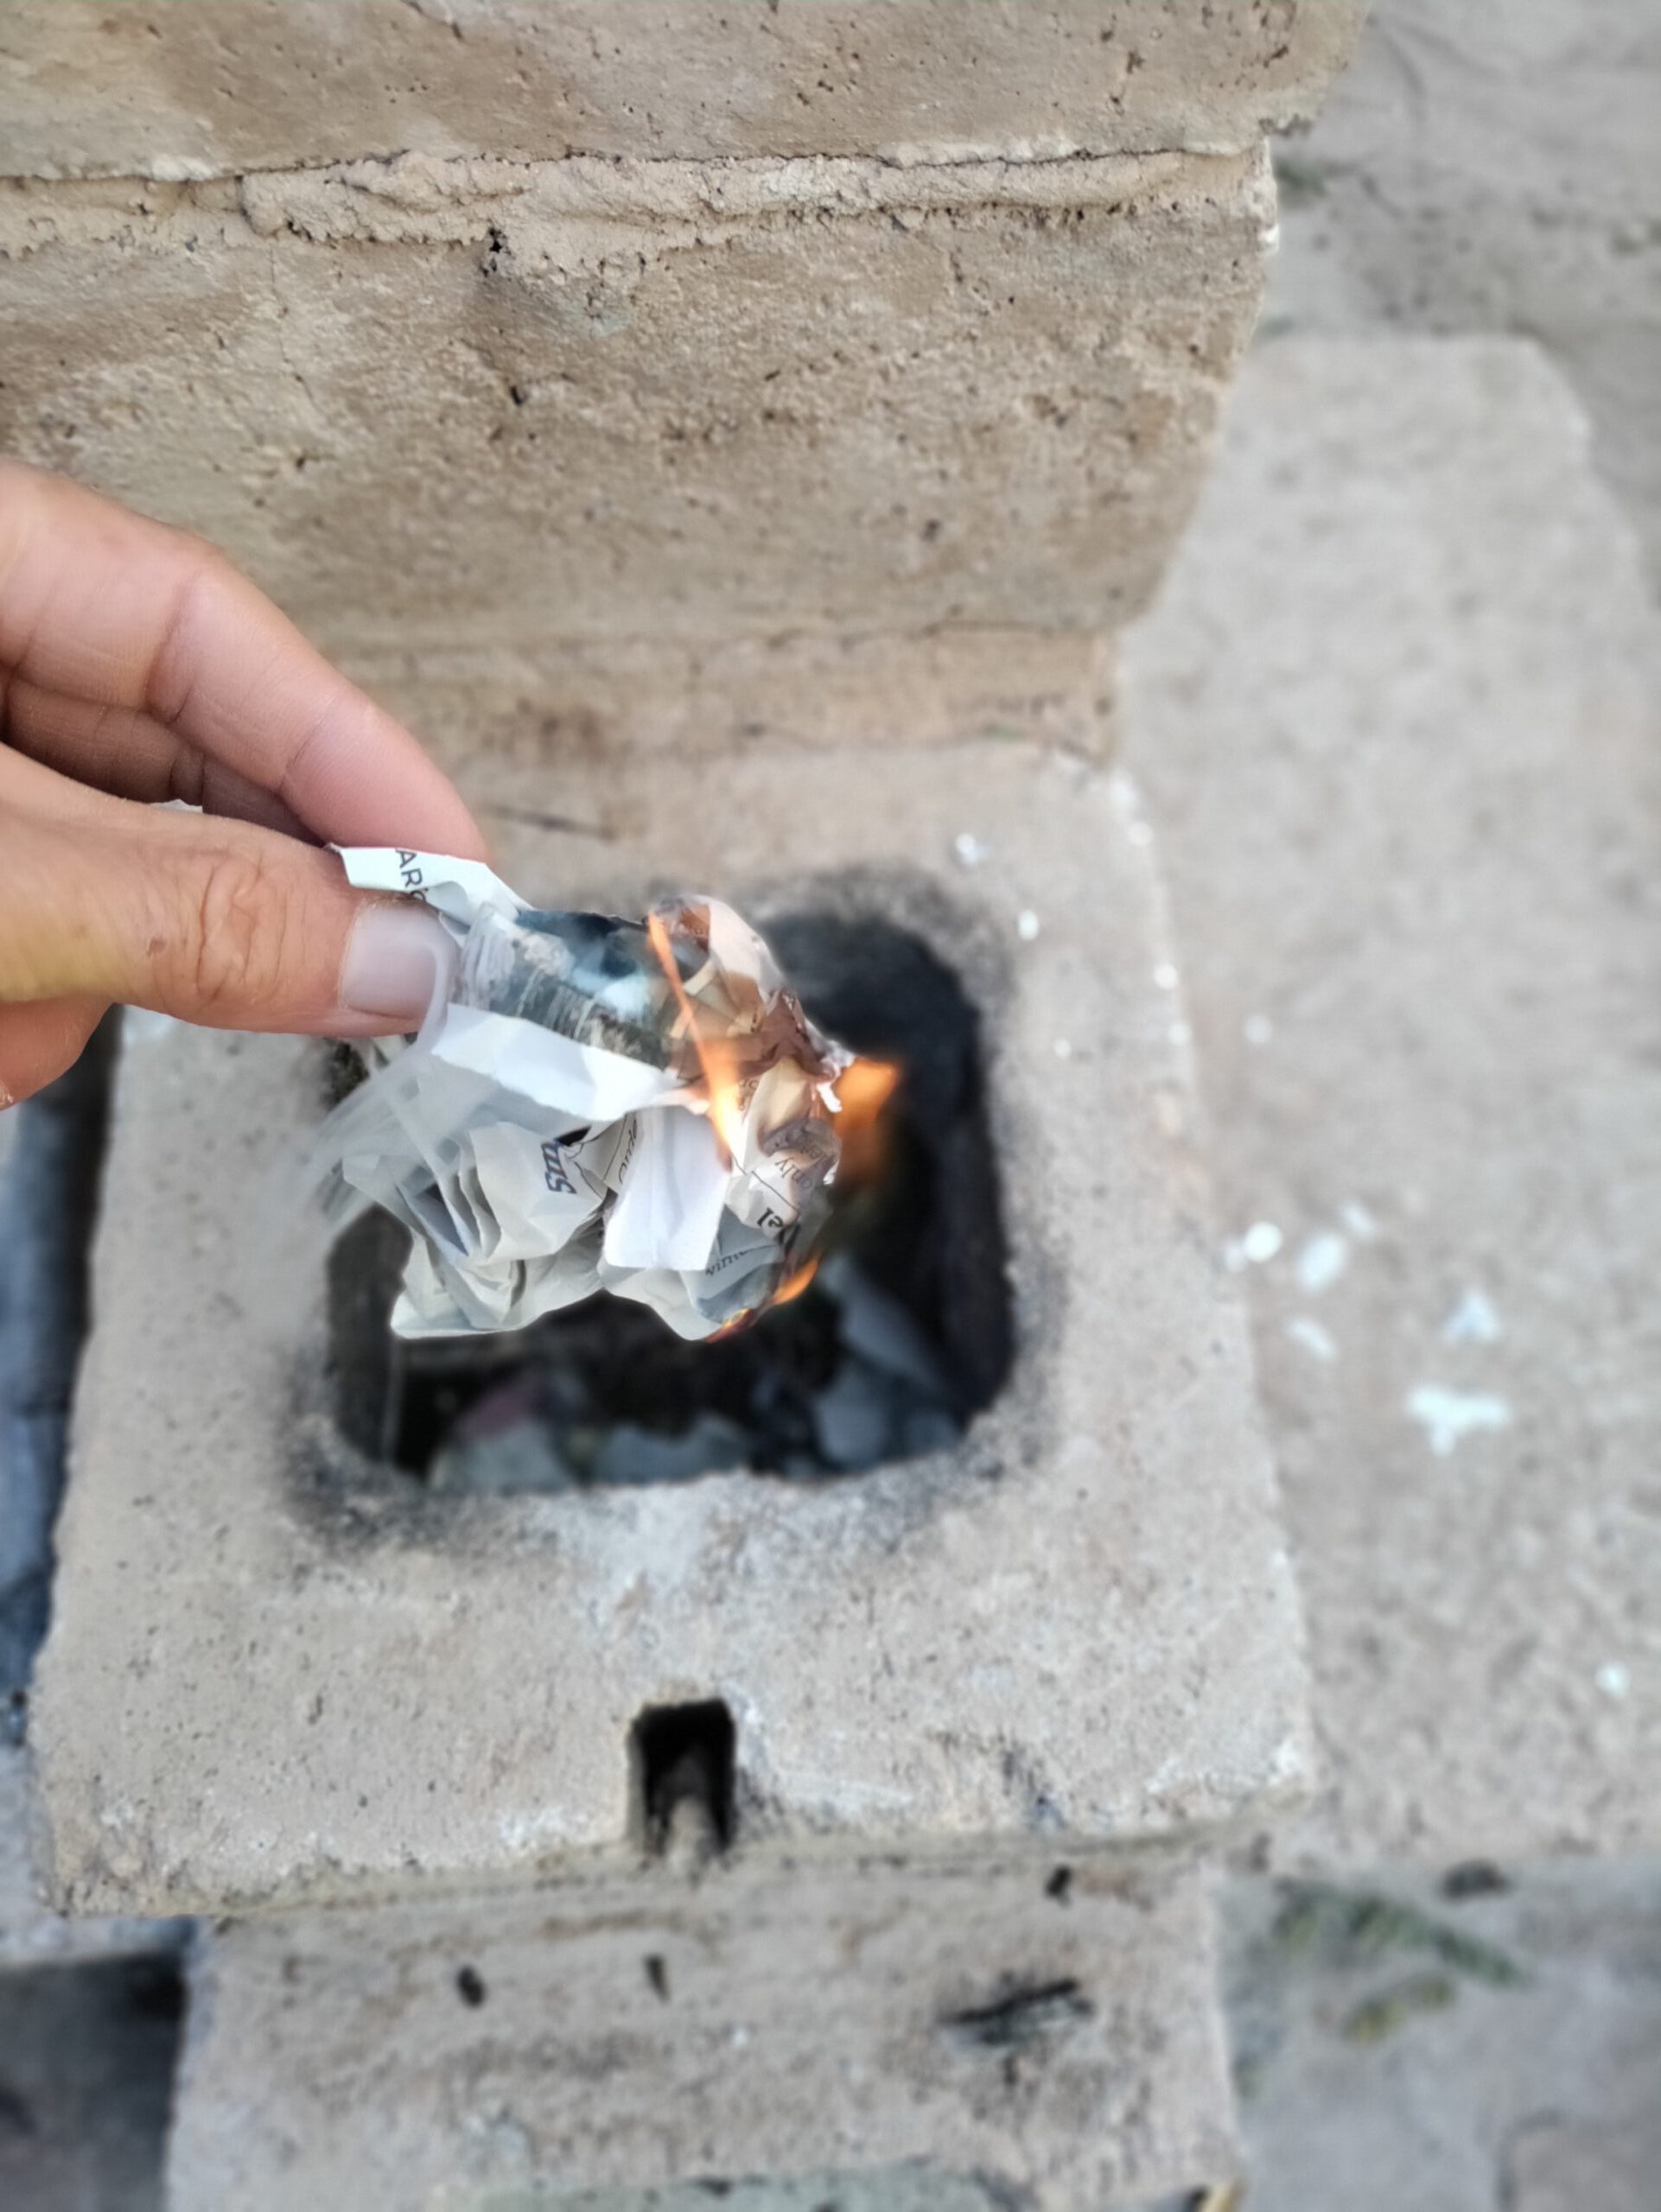
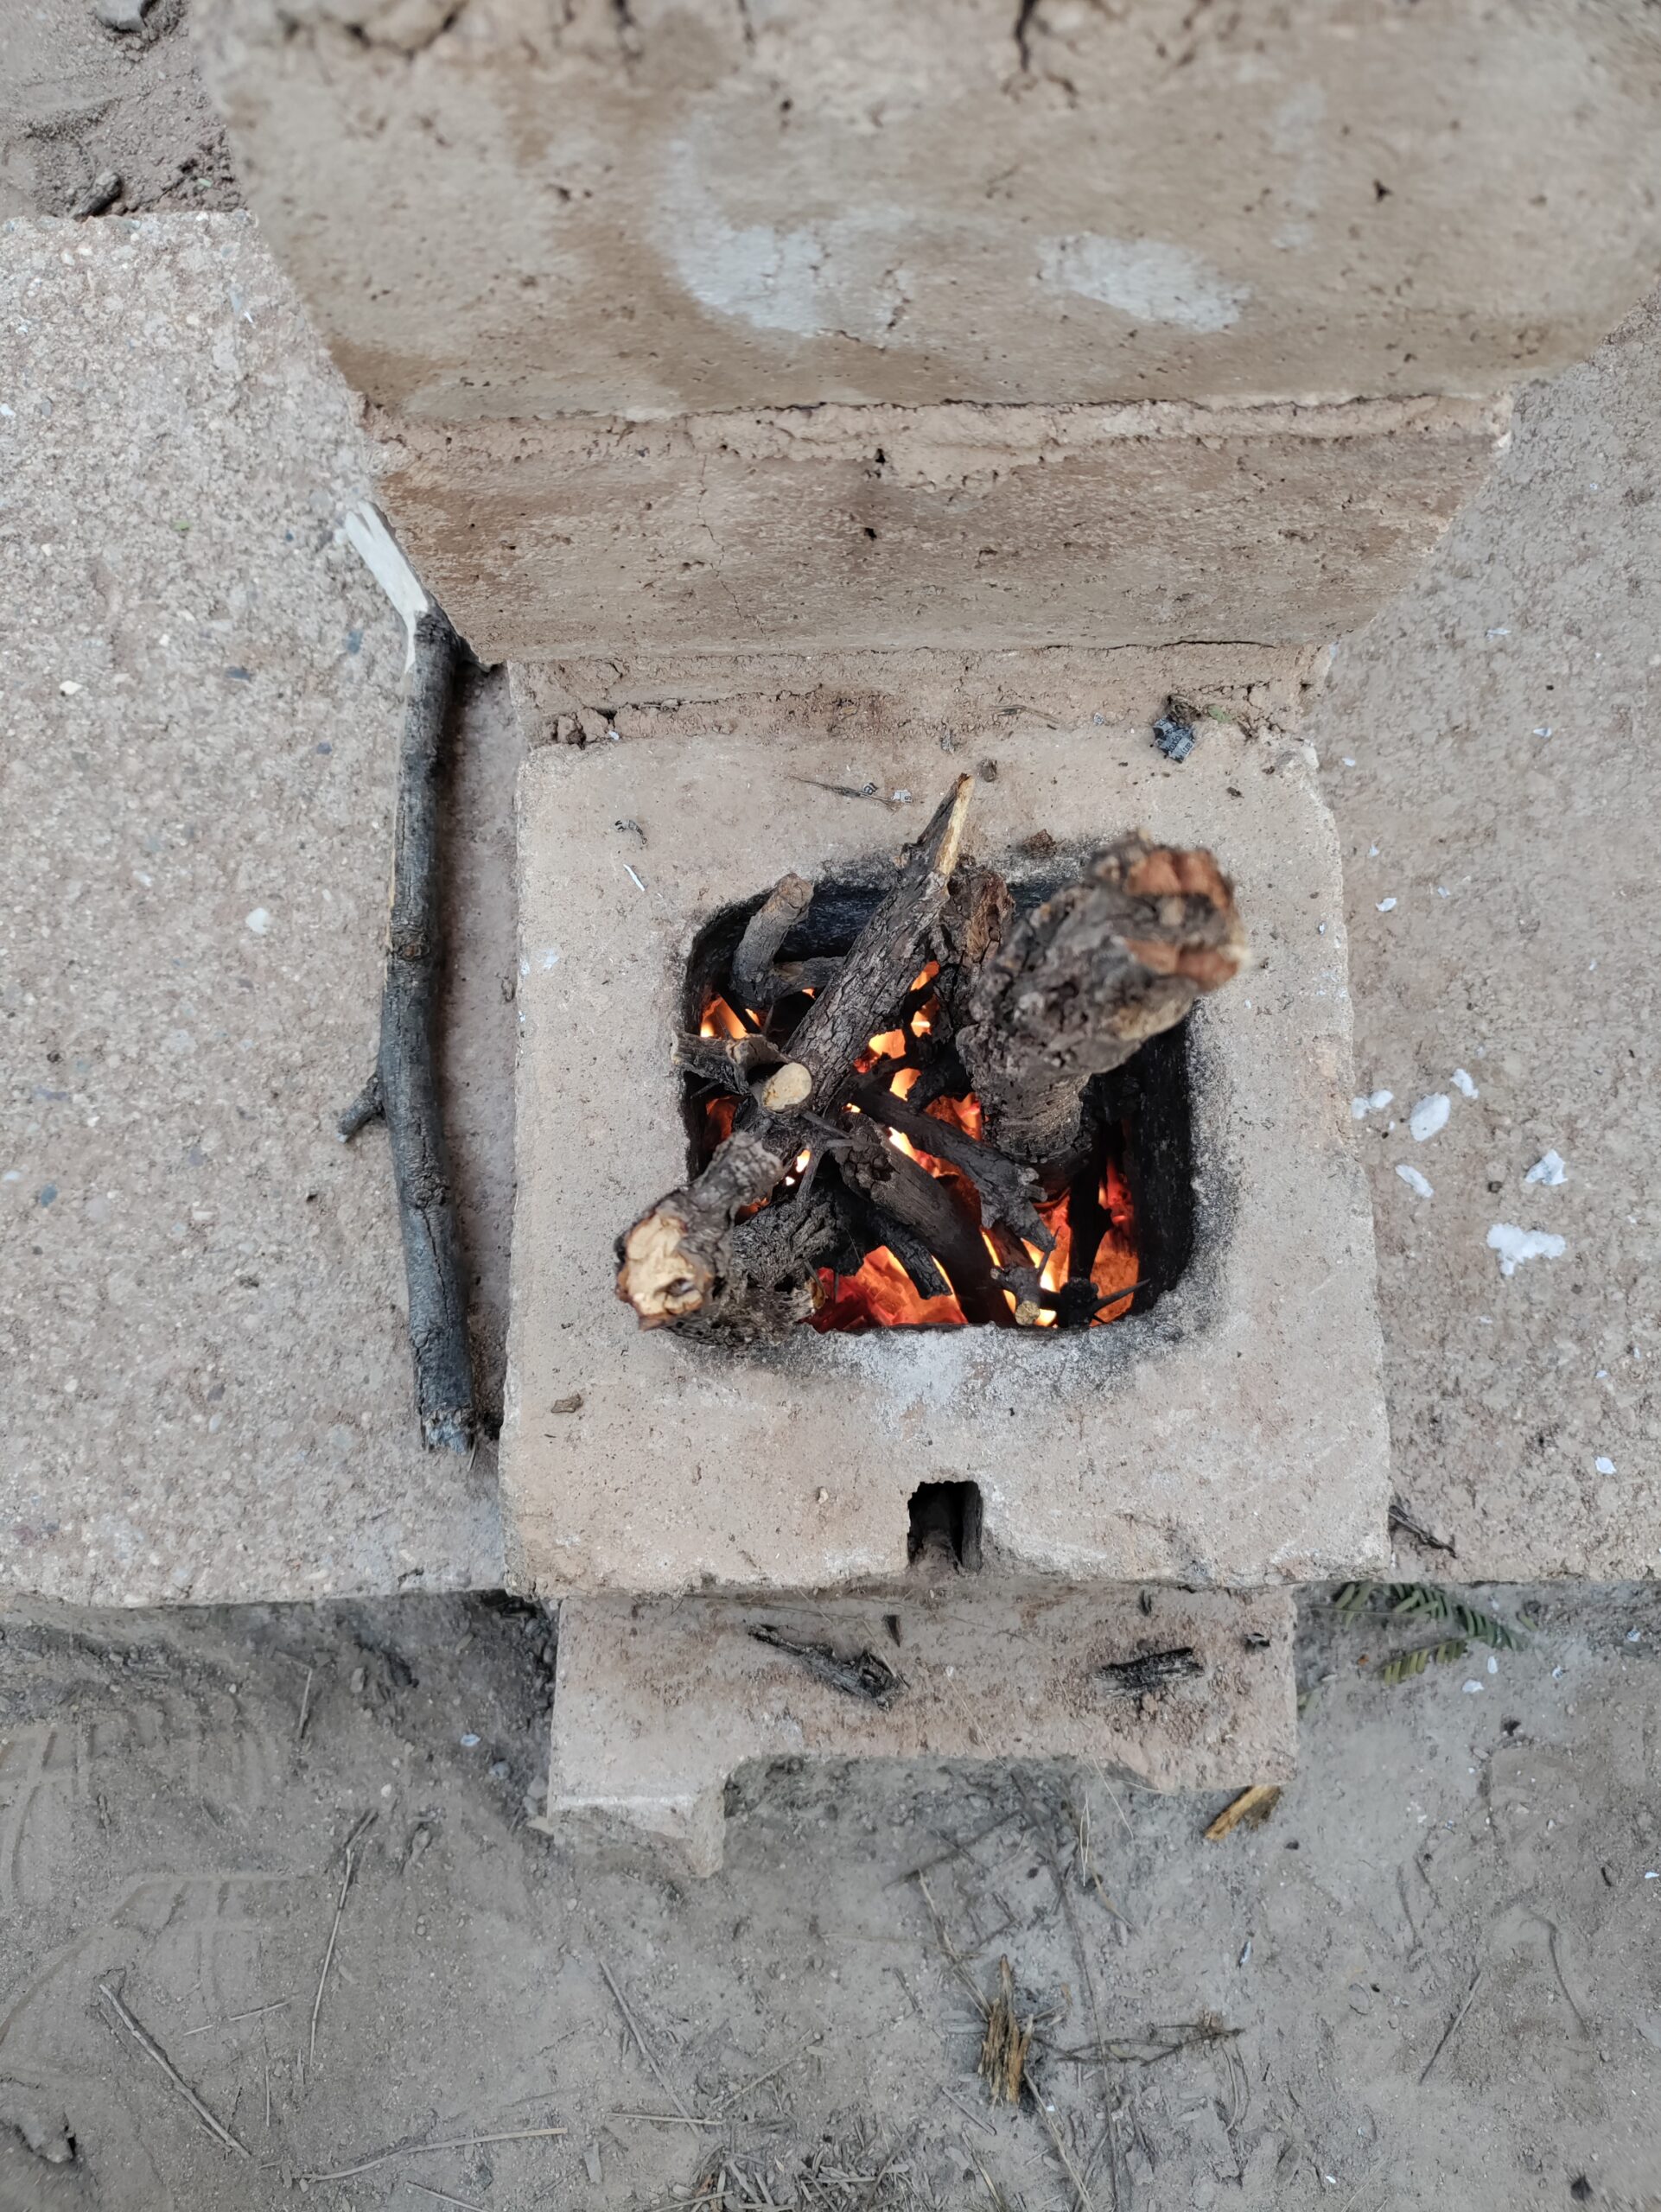
The perceived problem with a J-shaped rocket heater is it burns horizontally with the airflow going away from the wood feed. In contrast, a traditional fire has the small fuel on the bottom with the airflow taking the flames straight up into the bigger fuel as it is carefully added. The problem I kept having is the fire and smoke would come out of the wood feed instead of going through the burn chamber and up the riser.

Here's the secret I discovered through much trial and error: You simply prime the airflow in the riser. This will be more easily illustrated in pictorial fashion. The golf ball in a couple of the pictures is there for size comparison. Something I didn't take a picture of is dropping a couple pieces of wadded up paper down each opening of the J after your tinder is in place.
How To Start a Rocket Heater

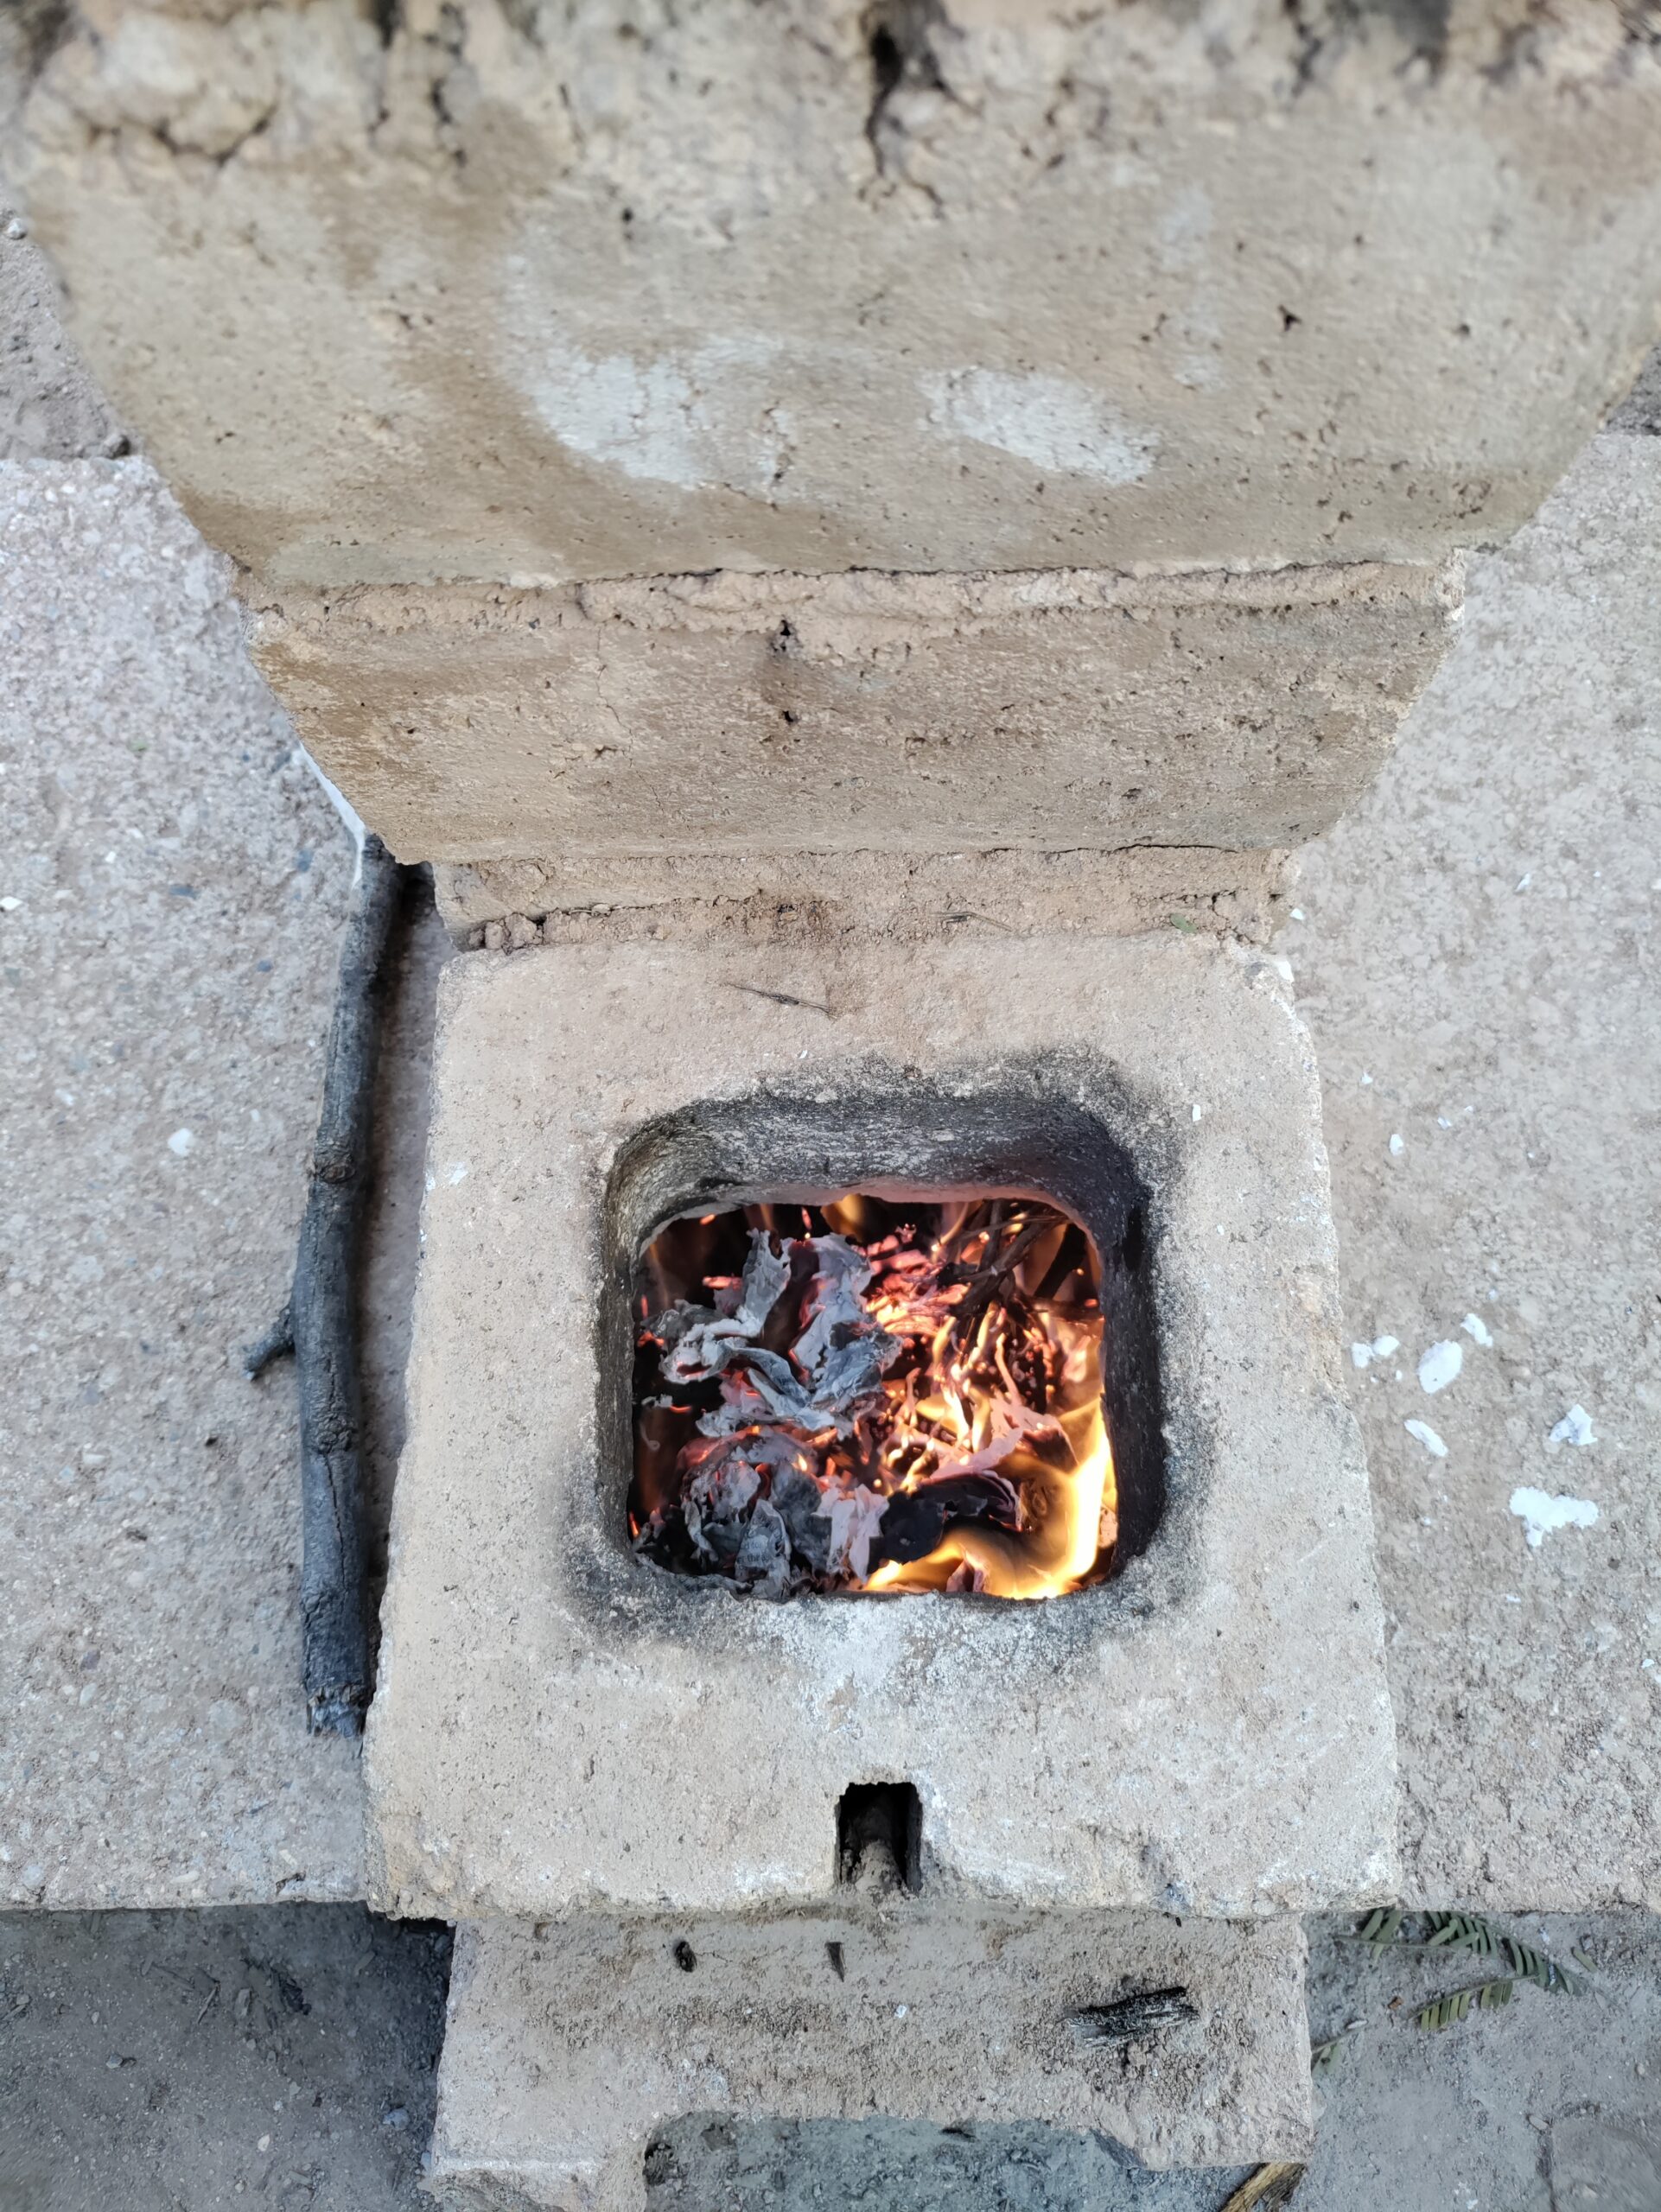
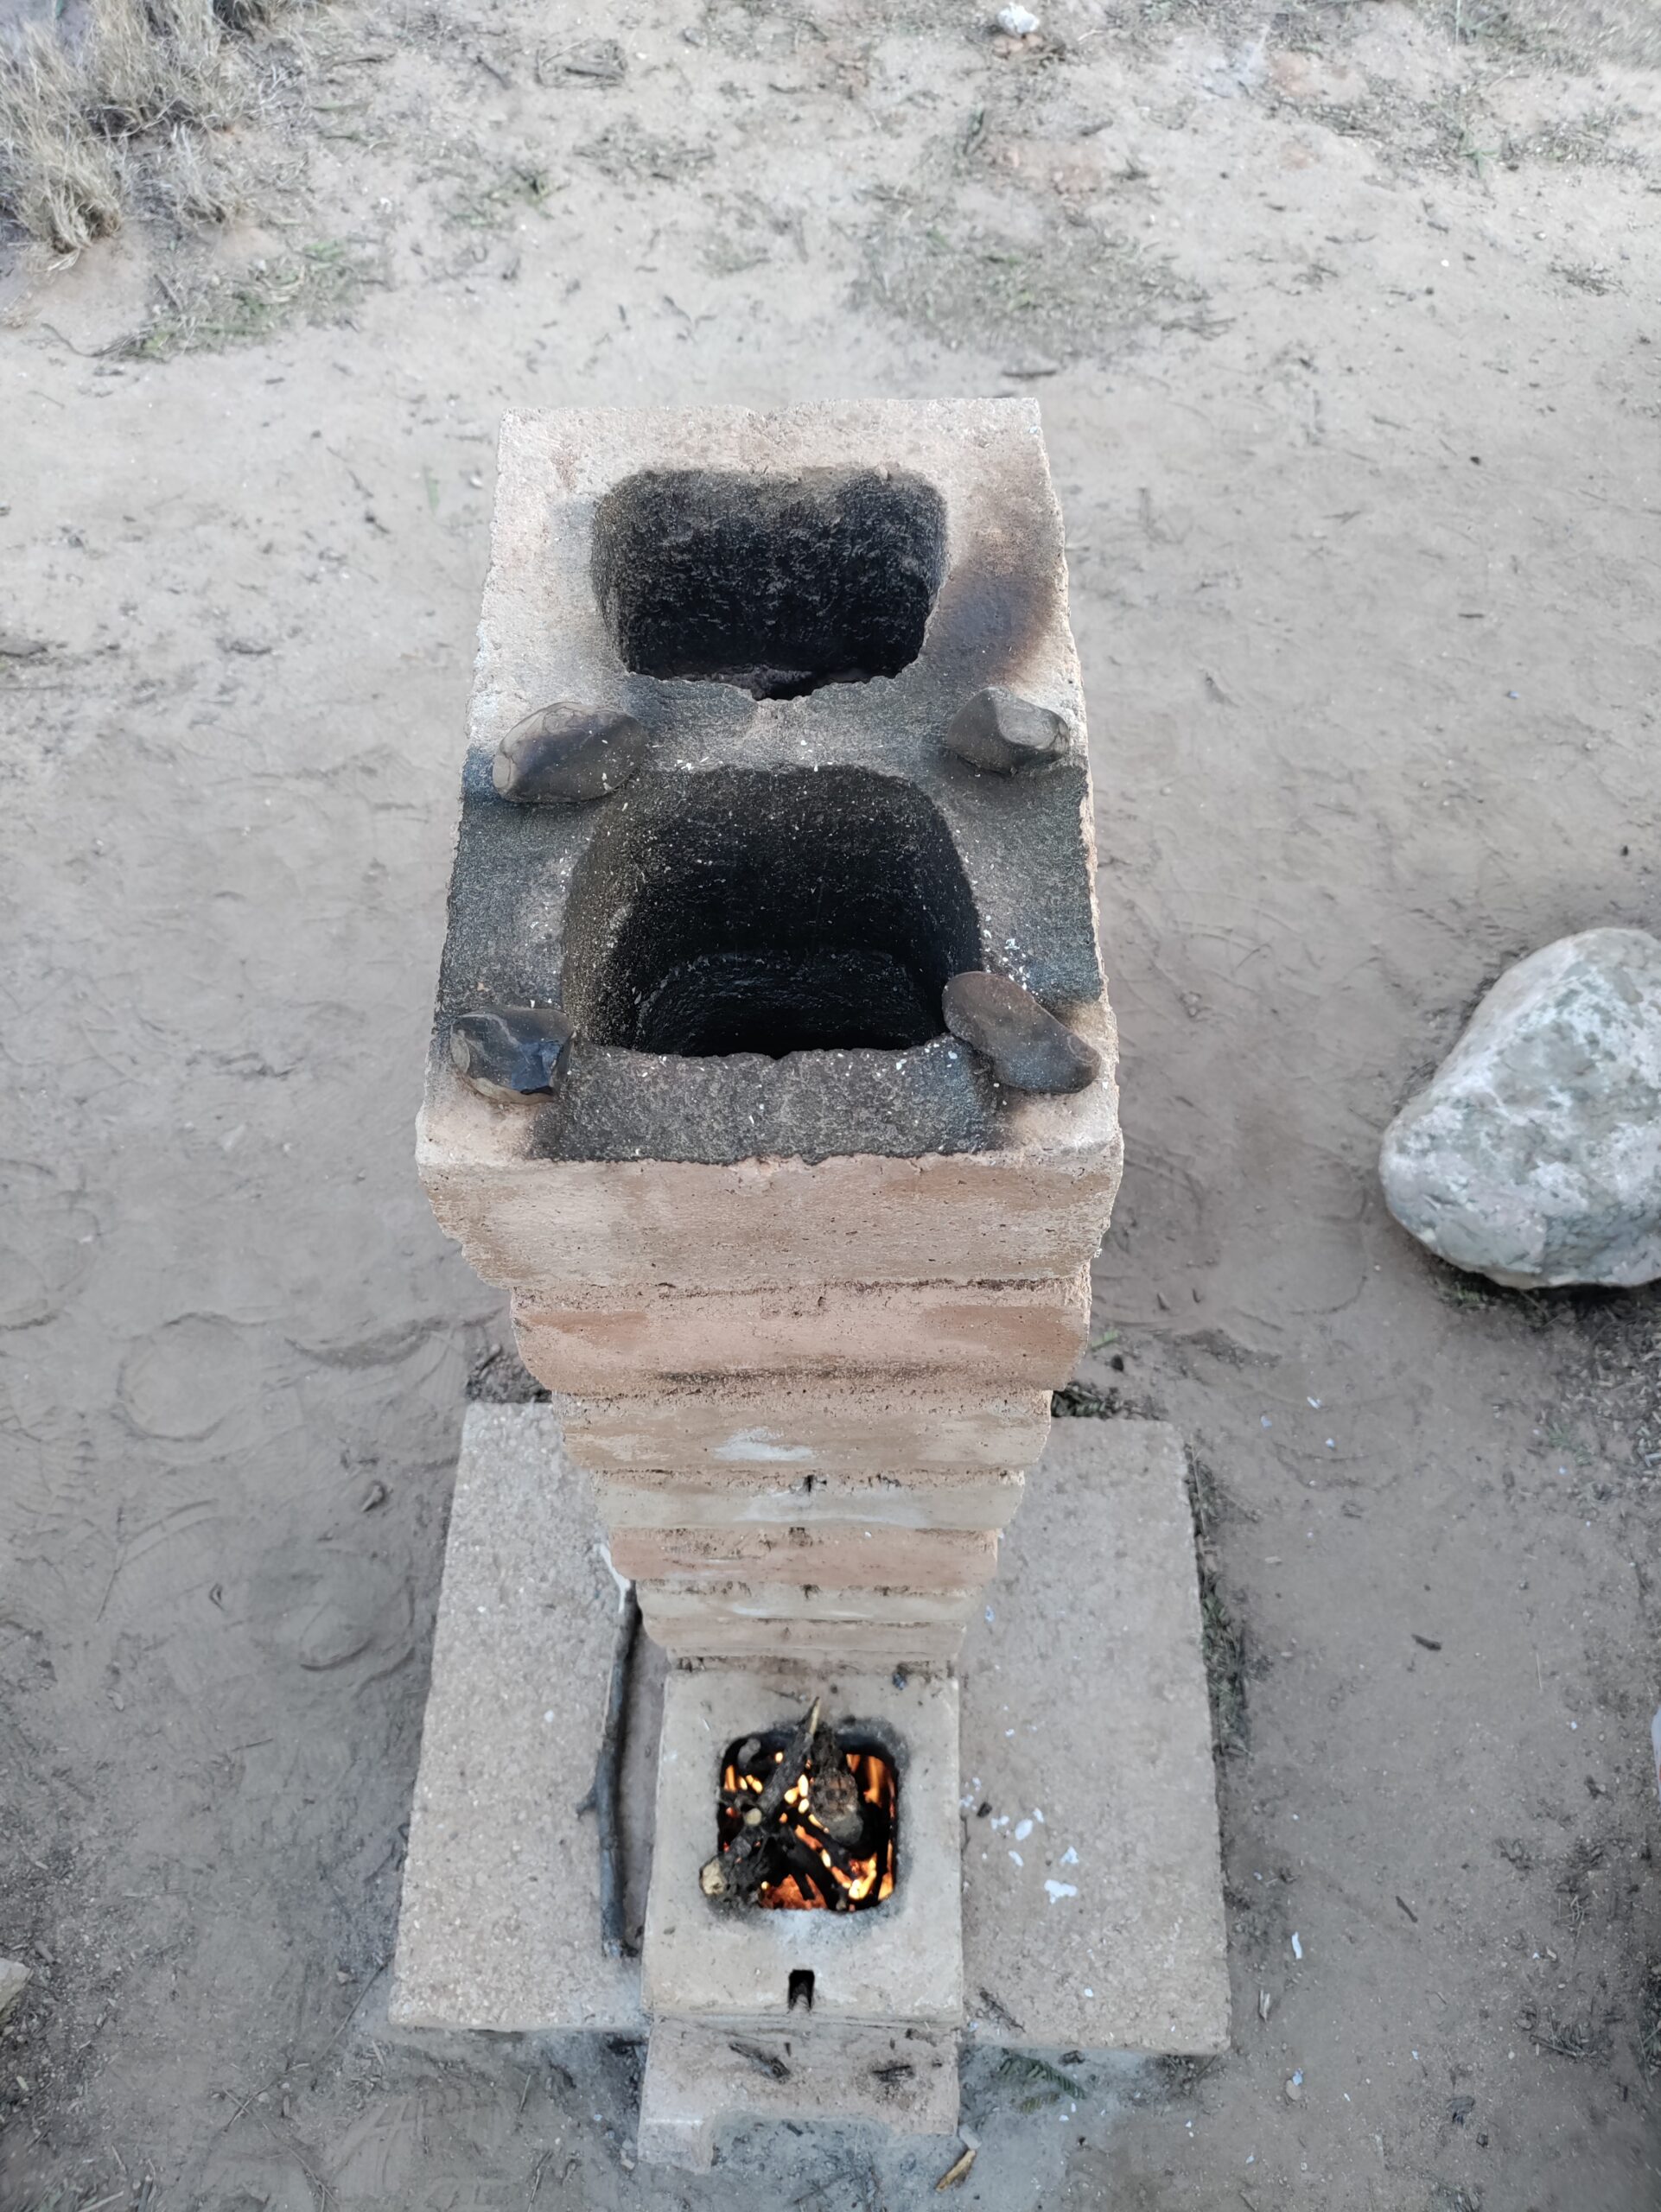
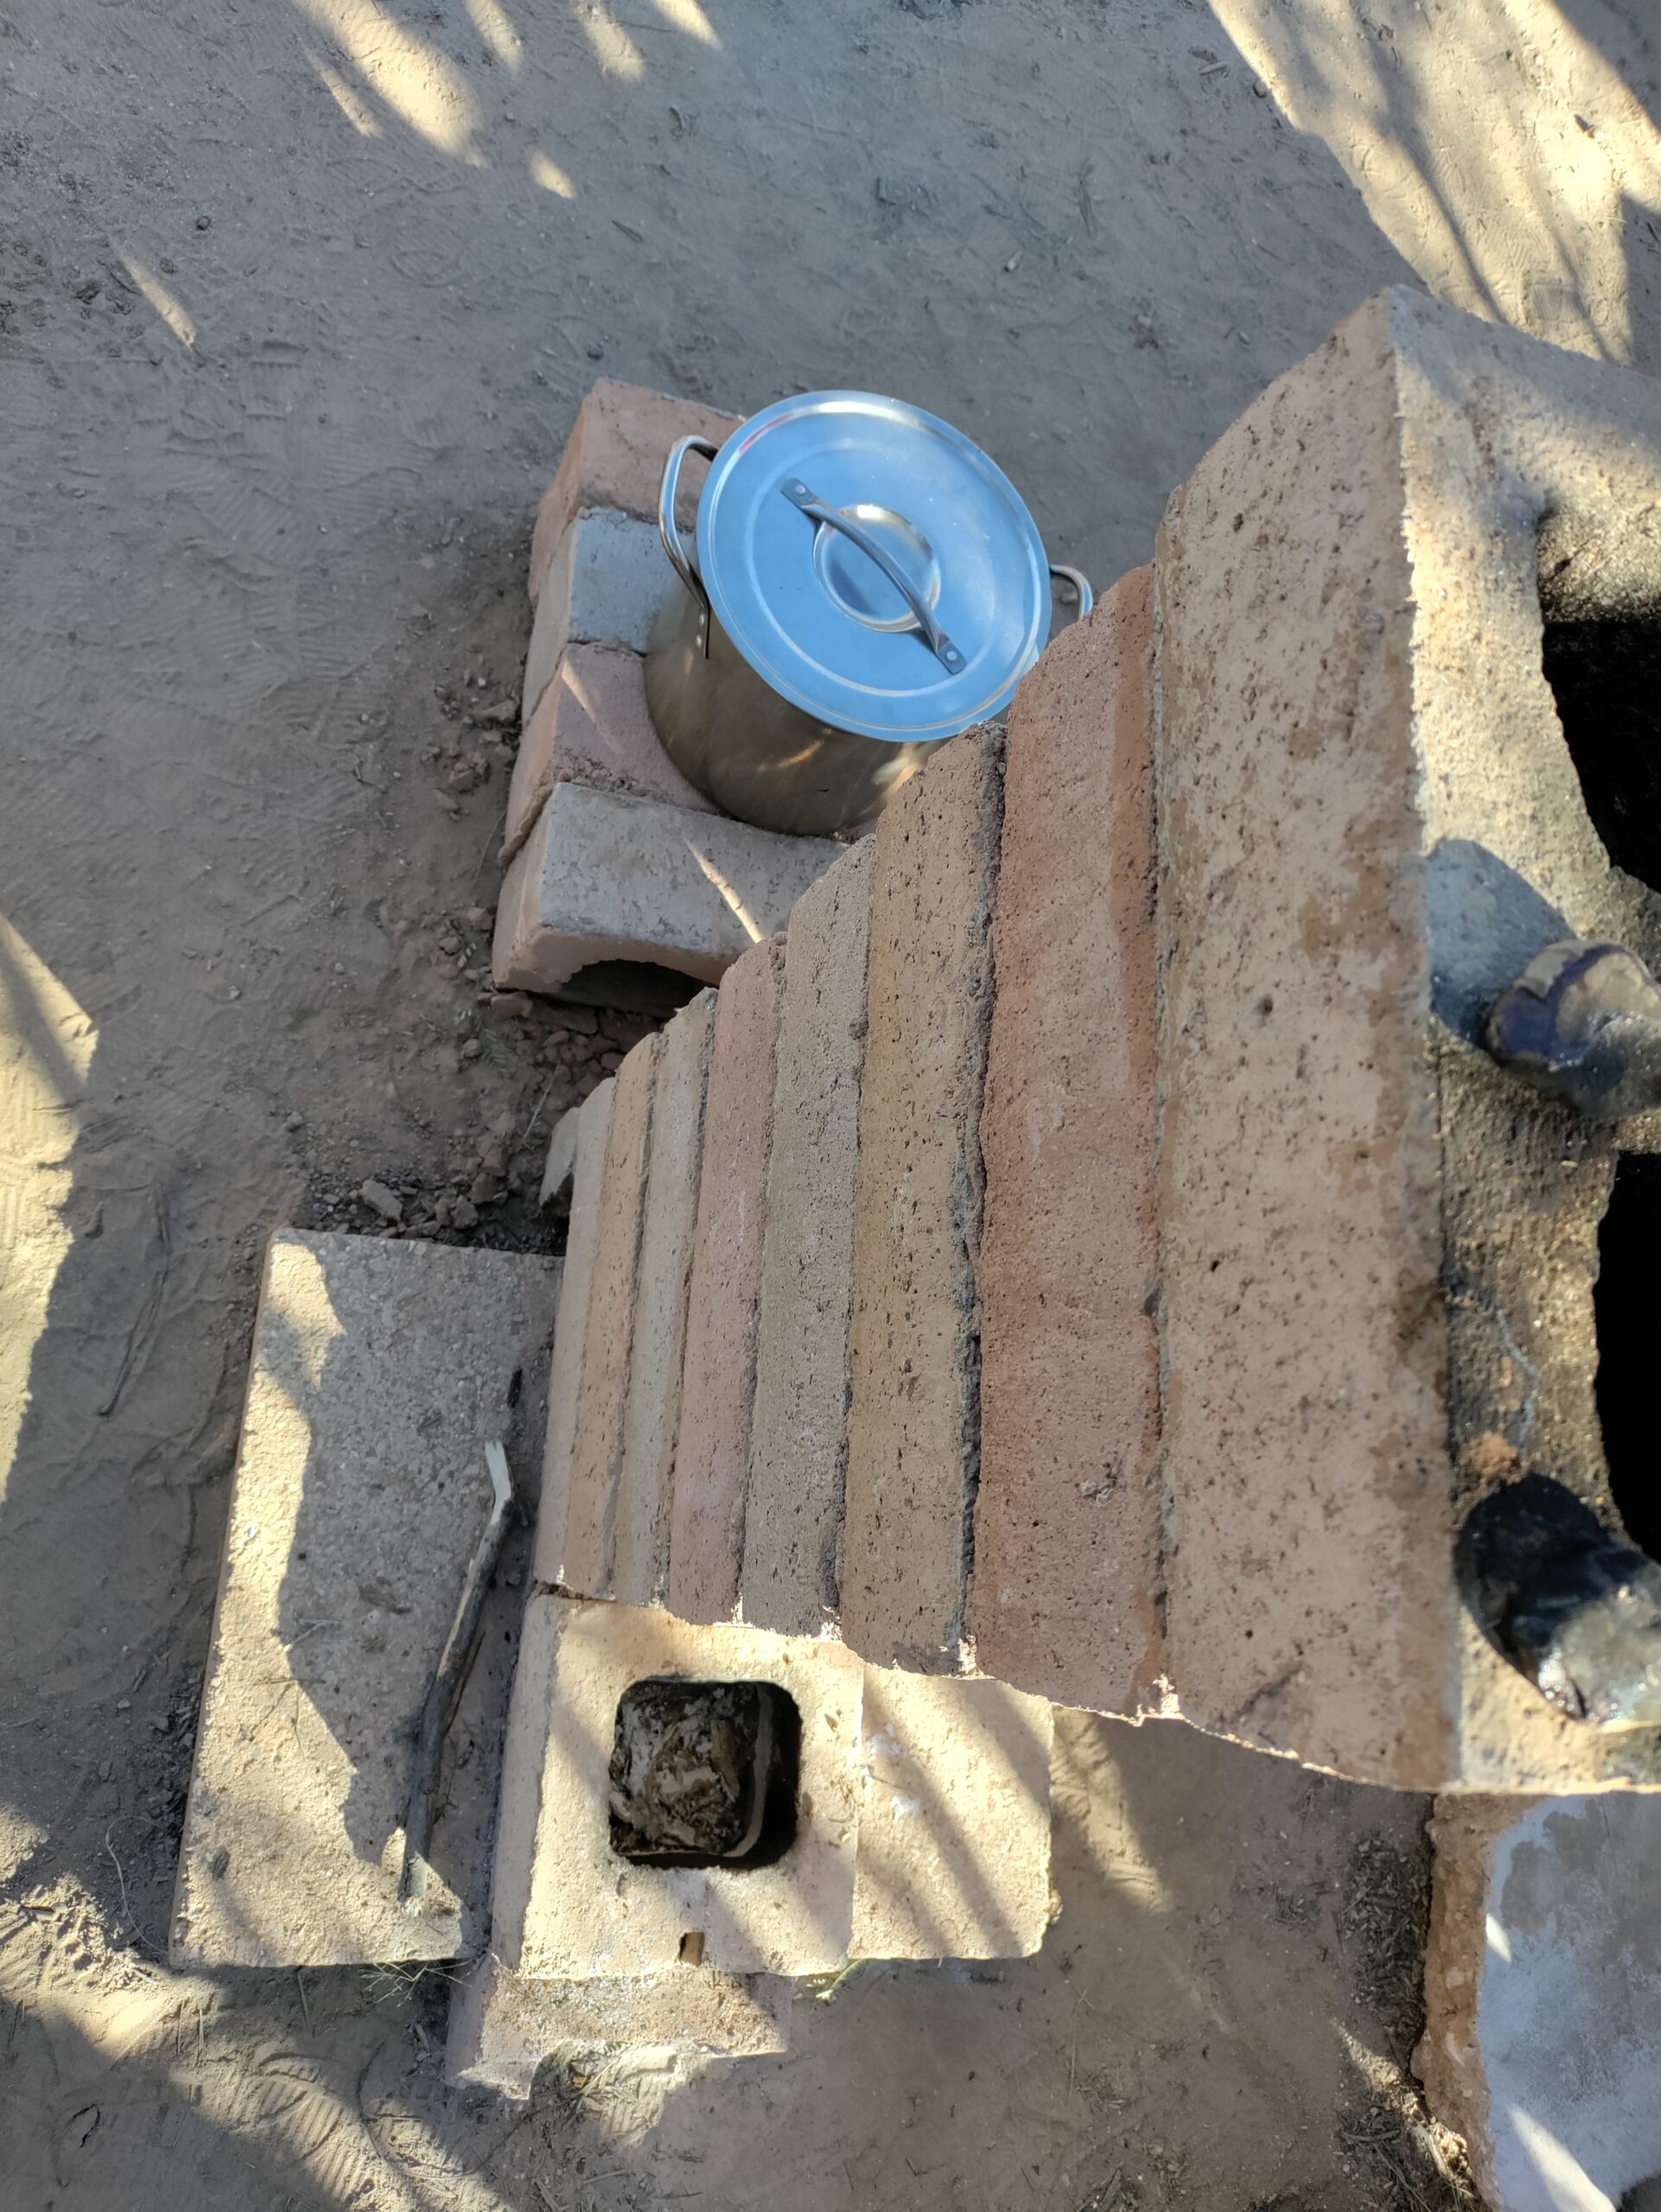
The last picture was just so you could see it at a different angle. The blocks behind it are some leftovers from an earlier version that we left there for a shelf. Everything is mortared into place with mud as described above. The riser doesn't need to be as high as it is. We just like it that high for more thermal mass. Also it smoked more when I was going through my learning curve and having it that high kept the smoke out of our faces better.

As you can see, there's a lot of flexibility with this type of stove/heater design. What will you come up with?
UPDATES:
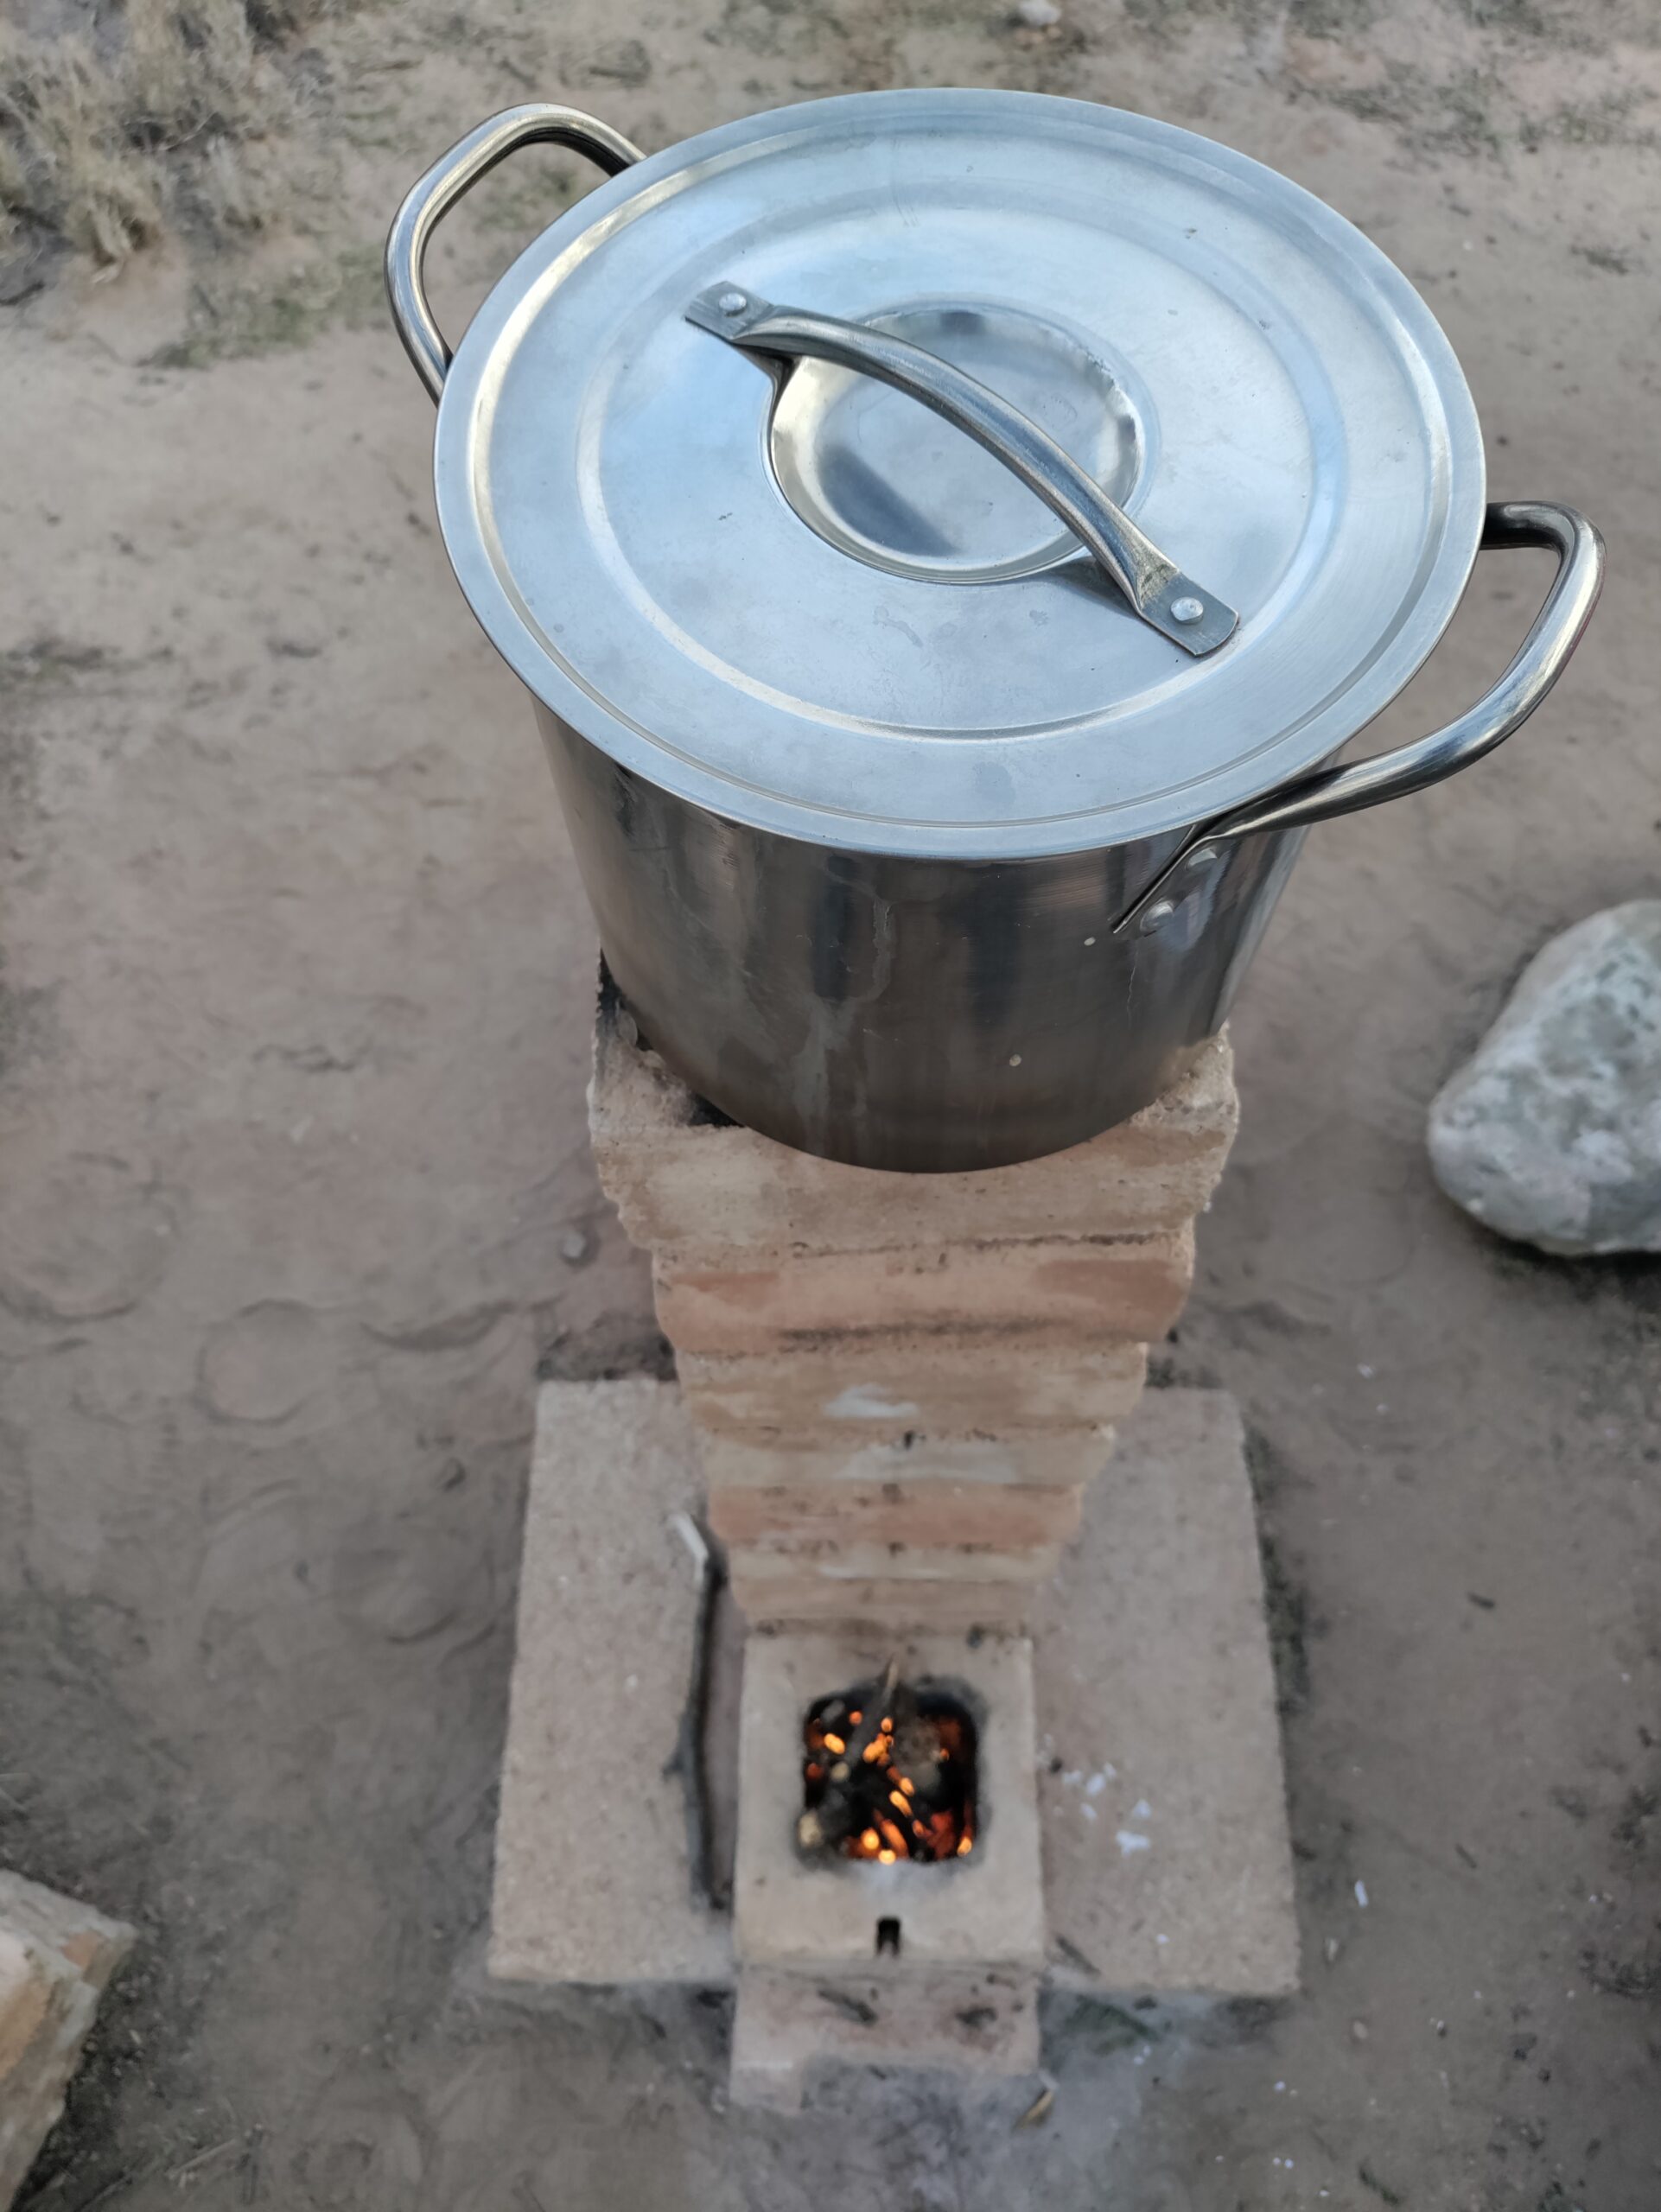
1. Shortly after posting this some of the slump blocks cracked, so apparently they are not sufficiently heat resistant for a rocket stove that does burn hotter than a typical fire. But it's not going anywhere. Fire brick is often dry stacked in the construction of rocket mass heaters.

2. The girls tried some cooking on it and said it was too slow. I removed four blocks from the top of the riser so it's now half the height. It is amazingly efficient: Almost instant cooking temperatures after starting it, almost no smoke while it's burning, it uses very little fuel and goes out very rapidly when you're done with it.